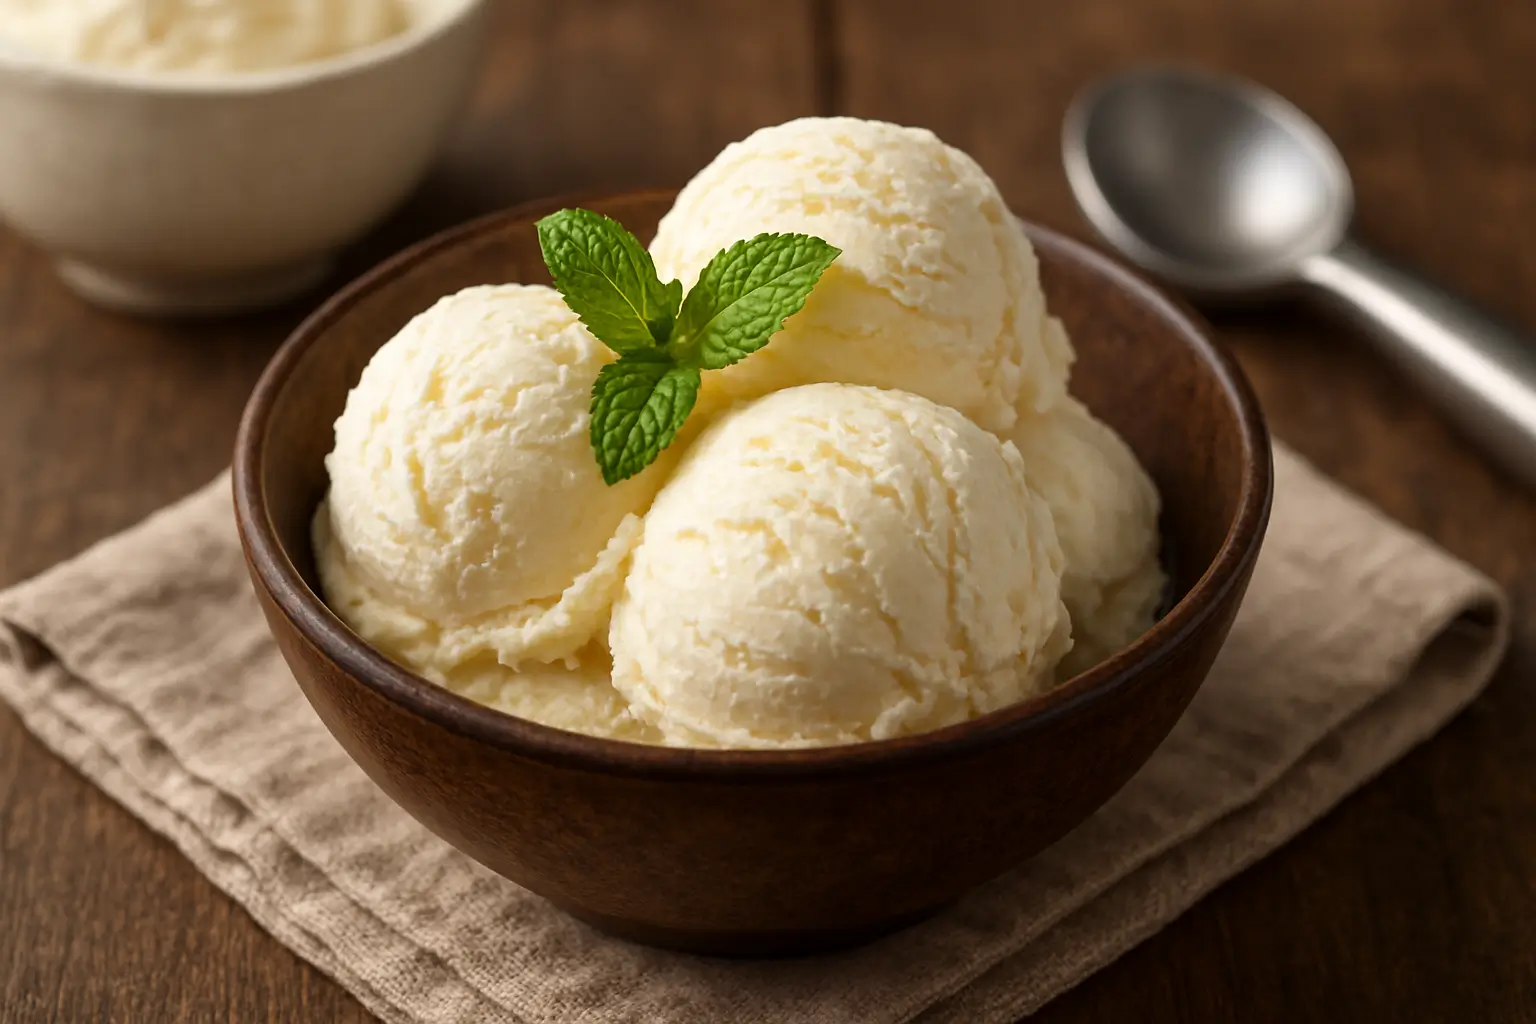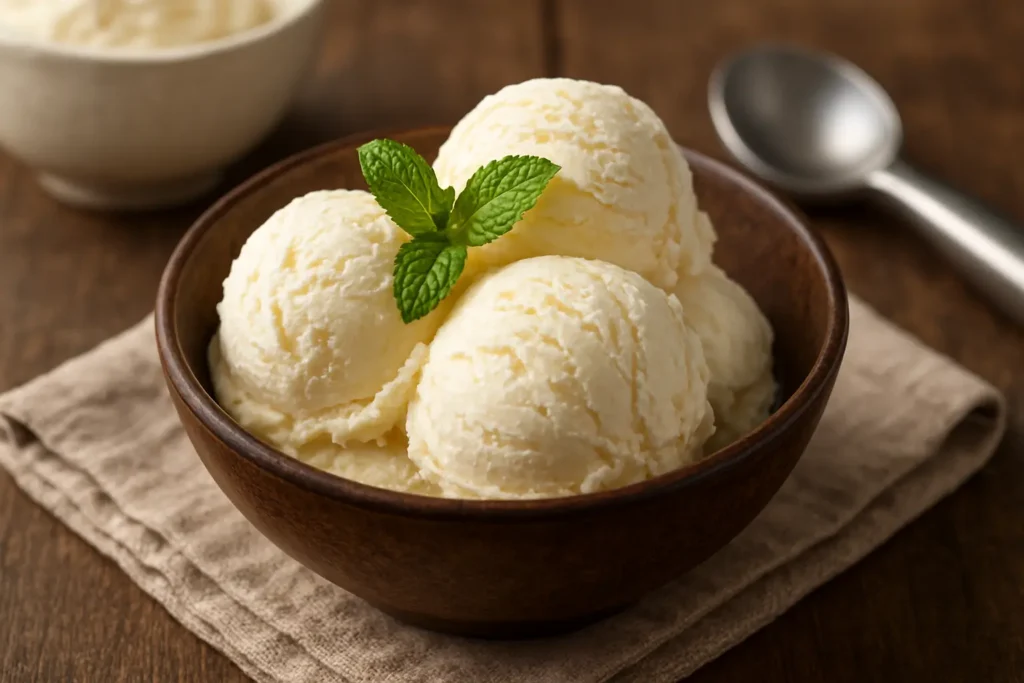
Introduction to Homemade Vanilla Ice Cream Without Machine
Making Vanilla Ice Cream Without Machine at home is simple and fun. You don’t need any fancy tools, just some basic kitchen items. This no-churn method lets you enjoy smooth, creamy ice cream in the comfort of your own kitchen. Vanilla is a classic favorite, and making it at home without a machine is easy, quick, and perfect for anyone who loves sweet, homemade desserts.
Table of Contents
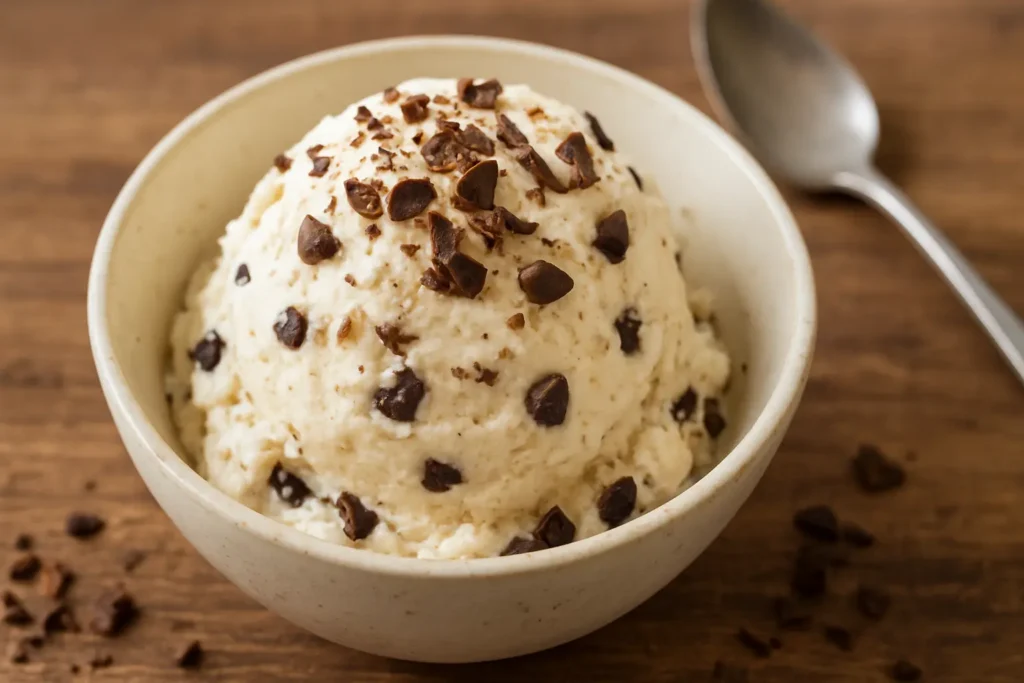
Why This No-Churn Vanilla Ice Cream is Special
Simple Ingredients
- You only need cream, sweetened condensed milk, and pure vanilla extract.
- No complicated or hard-to-find ingredients are required.
Easy Preparation
- No ice cream machine or special gadgets are needed.
- Just a bowl, a spatula, and a freezer are enough to make a smooth and creamy dessert.
Creamy and Rich Texture
- The ice cream turns out soft, velvety, and indulgent.
- Every scoop melts in your mouth, giving the same satisfaction as store-bought ice cream.
Classic Flavor
- Vanilla is loved by almost everyone and works for all occasions.
- You can enjoy it as it is or pair it with fruits, chocolate, or other toppings.
Homemade Charm
- Making ice cream at home brings back the joy of traditional desserts.
- It adds a personal touch that makes it extra special for family and friends.
Benefits of Making Vanilla Ice Cream at Home
- You can control the sweetness and flavor according to your taste.
- It is healthier compared to many store-bought options.
- Making it at home is fun and a great activity for kids and family gatherings.
- You can customize it with toppings, chocolate chips, or fruit for variety.
With a little patience, care, and the right method, you can enjoy a homemade vanilla ice cream that tastes rich, creamy, and indulgent while giving the satisfaction of creating something special yourself.
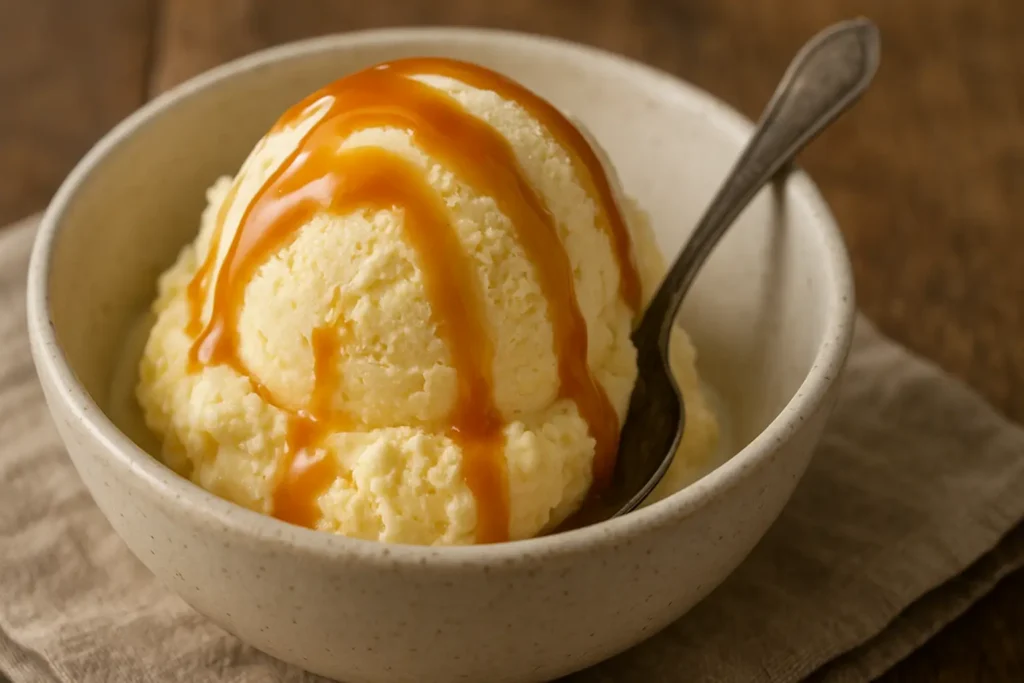
History & Evolution of Homemade Ice Cream Methods
Ice cream is a dessert that has been loved for centuries across the world. Long before machines existed, people found creative ways to freeze sweetened cream mixtures using only ice and salt. This simple technique allowed the cream to gradually freeze, forming the smooth texture we enjoy today.
Traditional Methods
- Many cultures prepared ice cream by hand using clay pots.
- Wooden buckets with paddles were used to churn the cream slowly.
- These methods required patience and care, resulting in a rich, creamy dessert with a unique texture.
Transition to Modern Techniques
- With the invention of ice cream machines, the process became faster and more convenient.
- Machines allowed for consistent texture and flavor, making ice cream widely available.
Continued Appreciation for No-Machine Methods
- Despite modern conveniences, no-machine techniques remain popular for their simplicity and nostalgic charm.
- Making ice cream by hand connects people to history and tradition, offering a satisfying and personal experience.
- These traditional methods are still celebrated today in households and artisanal ice cream shops.
By understanding the history and evolution of ice cream, you can appreciate why making it at home without a machine is not only practical but also a way to relive the craftsmanship of earlier generations.
Why Vanilla Ice Cream Without a Machine is Loved
Making vanilla ice cream without a machine has become a favorite for many people because of its simplicity and accessibility. Not everyone has an ice cream maker at home, but almost every kitchen has basic tools like bowls, whisks, and a freezer. This method allows anyone to create a rich, creamy, and fresh dessert without spending money on specialized equipment.
Ease of Preparation
- Only a few ingredients are needed: cream, sweetened condensed milk, and pure vanilla extract.
- No complex or hard-to-use tools are required.
- The process is simple and can be done by beginners and experienced cooks alike.
Delicious Taste and Texture
- The ice cream turns out smooth, creamy, and indulgent.
- Each bite melts in your mouth with a rich vanilla flavor.
- You can customize it with toppings, chocolate chips, or fruit to enhance the taste.
Creative Freedom
- Experiment with flavors by adding cocoa, coffee, or fruits.
- Adjust the sweetness according to your preference.
- Make it a family activity and let kids help with mixing or adding toppings.
No-machine vanilla ice cream is loved not only for its taste but also for the joy and satisfaction of making it at home. It connects people with tradition while allowing creativity and flexibility in flavors.
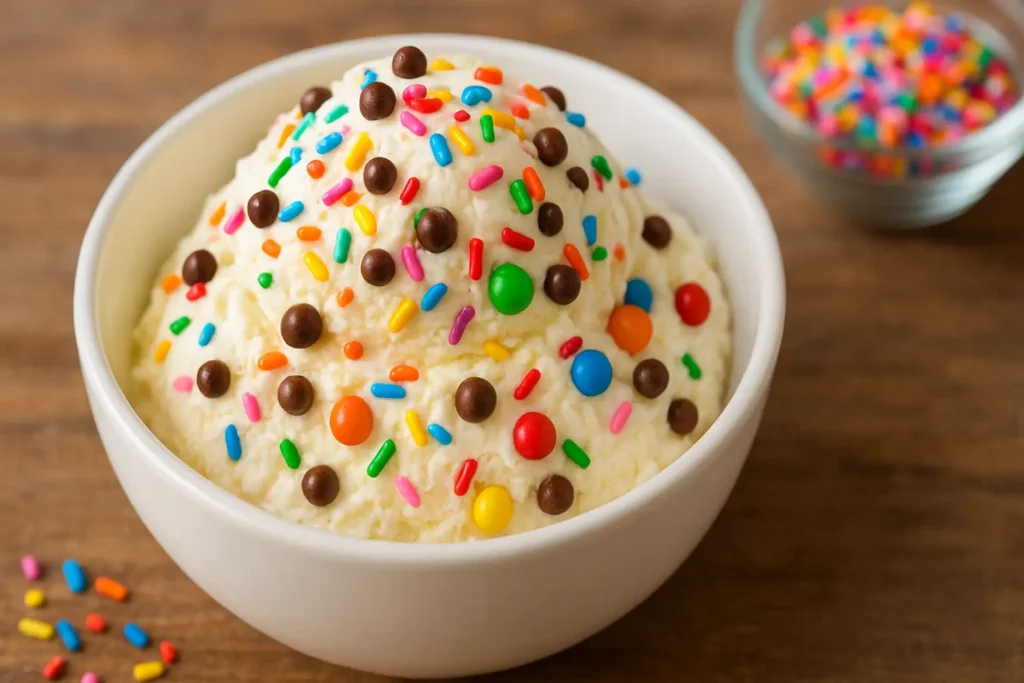
Why No-Machine Vanilla Ice Cream is Special
Making vanilla ice cream without a machine is unique and loved because it focuses on technique rather than expensive tools. The method relies on careful preparation, proper folding of ingredients, and correct freezing to achieve a creamy and smooth texture that rivals churned ice cream.
Hands-On Process
- Whipping the cream to the right consistency ensures lightness.
- Folding in the sweetened condensed milk and vanilla extract gently preserves air, creating a soft texture.
- Freezing at the correct pace guarantees a smooth, creamy finish.
Fun for Families and Kids
- Everyone can participate in the preparation, from mixing to folding ingredients.
- Children can help with adding flavors or decorating toppings.
- Making ice cream together turns dessert preparation into a fun family activity.
Creative Flexibility
- You can experiment with flavors like chocolate, fruit, or coffee.
- Add-ins like nuts, chocolate chips, or swirls of caramel enhance the taste.
- Adjust the sweetness and richness according to personal preference.
No-machine vanilla ice cream is special not only because of its texture and taste but also because it brings people together, making the dessert experience enjoyable, interactive, and memorable.
Benefits of Making Vanilla Ice Cream Without a Machine
Making vanilla ice cream at home without a machine comes with many advantages. This method is not only simple and cost-effective but also fun, flexible, and customizable for everyone.
No Need for Costly Machines
- You do not need to invest in expensive ice cream makers.
- Basic kitchen tools like bowls, whisks, and a freezer are enough.
- This makes homemade ice cream accessible to almost every household.
Simple Process, Perfect for Beginners
- Only a few ingredients are required: cream, sweetened condensed milk, and vanilla extract.
- The method is easy to follow, even for those new to making desserts.
- The results are creamy, smooth, and indulgent without any complicated steps.
Flexible Methods for Different Diets
- The recipe can be adjusted for vegan, keto, or dairy-free versions.
- Alternative ingredients like coconut cream, almond milk, or sweeteners can be used.
- Everyone can enjoy ice cream according to their dietary preferences.
Easy to Customize with Flavors and Add-Ins
- Add chocolate chips, fruit, nuts, or caramel swirls.
- Experiment with flavors like coffee, cocoa, or berries.
- Adjust sweetness and richness according to your taste.
Great Activity for Family Gatherings
- Involve children or family members in preparation.
- Decorating and mixing flavors can become a fun group activity.
- Making ice cream together creates enjoyable memories while preparing a delicious dessert.
Making vanilla ice cream without a machine is not only practical but also brings creativity, flexibility, and joy into your kitchen, making it a favorite dessert for all ages.
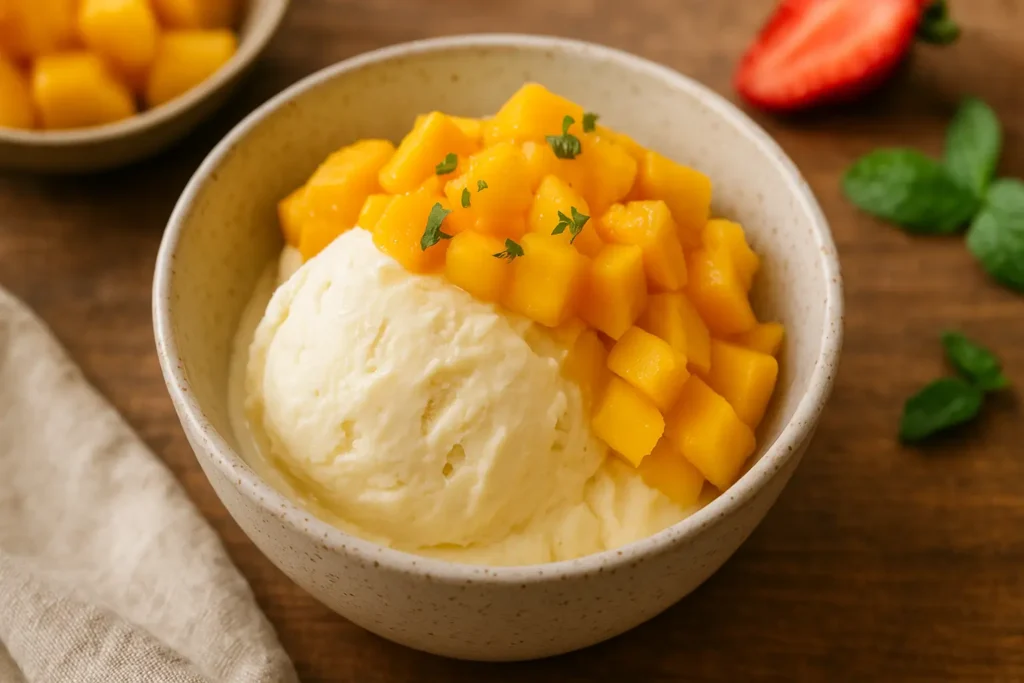
Science of No-Churn Ice Cream: How It Works Without a Machine
No-churn ice cream is a fascinating dessert because it achieves a creamy and smooth texture without any specialized equipment. The secret lies in the technique and understanding the science behind it. By carefully incorporating air into the cream and sugar mixture, you can prevent the ice cream from becoming a hard, icy block while keeping it light and fluffy.
Key Elements That Make It Work
- Whipped Cream : Whipping the cream adds volume and creates tiny air pockets. These pockets help the ice cream stay soft and airy even after freezing.
- Condensed Milk or Custard : These ingredients provide natural sweetness and smoothness. They prevent crystallization, giving the ice cream a velvety texture.
- Proper Folding Technique : Gently folding the cream into the mixture maintains the air bubbles. This step is crucial for achieving the soft, creamy consistency of churned ice cream.
How Air and Ingredients Interact
- Air trapped during whipping keeps the mixture light and fluffy.
- Sugar and milk ingredients control the freezing point, ensuring the ice cream does not turn rock-hard.
- Freezing at a steady pace allows the mixture to solidify evenly while maintaining smoothness.
Understanding this science allows you to make perfect no-churn ice cream every time. By balancing air incorporation, sweetness, and freezing technique, you can enjoy homemade ice cream that rivals store-bought versions in taste and texture.
Custard vs. No-Custard: What Differences to Expect
When making ice cream at home, understanding the difference between custard and no-custard recipes is important. Both methods can be done without a machine, but they vary in preparation, texture, and flavor.
Custard-Based Ice Cream
- Egg Yolks : Custard recipes use egg yolks, which add richness and a silky smooth texture.
- Flavor and Creaminess : The yolks provide a deep, luxurious flavor that melts beautifully in the mouth.
- Cooking Required : Custard must be cooked gently to avoid curdling, requiring careful attention.
- Time Investment : Preparing custard takes longer but yields a classic, indulgent result.
No-Custard Ice Cream
- Simpler Ingredients : Uses sweetened condensed milk and whipped cream instead of eggs.
- Quick and Easy : No cooking is required, making it perfect for beginners.
- Smooth and Light Texture : Condensed milk ensures the ice cream stays creamy and soft.
- Flexible Flavoring : Easy to add chocolate, fruit, or other mix-ins without extra steps.
Key Differences at a Glance
- Custard requires cooking and attention to avoid curdling, while no-custard is faster and simpler.
- Custard gives a rich, silky texture, whereas no-custard is light, fluffy, and easy to customize.
- Both methods can be done without an ice cream machine, making homemade ice cream accessible for all.
By knowing the differences, you can choose the method that fits your skill level, time, and flavor preferences. Custard is perfect for traditional, rich ice cream, while no-custard is ideal for a quick, beginner-friendly dessert.
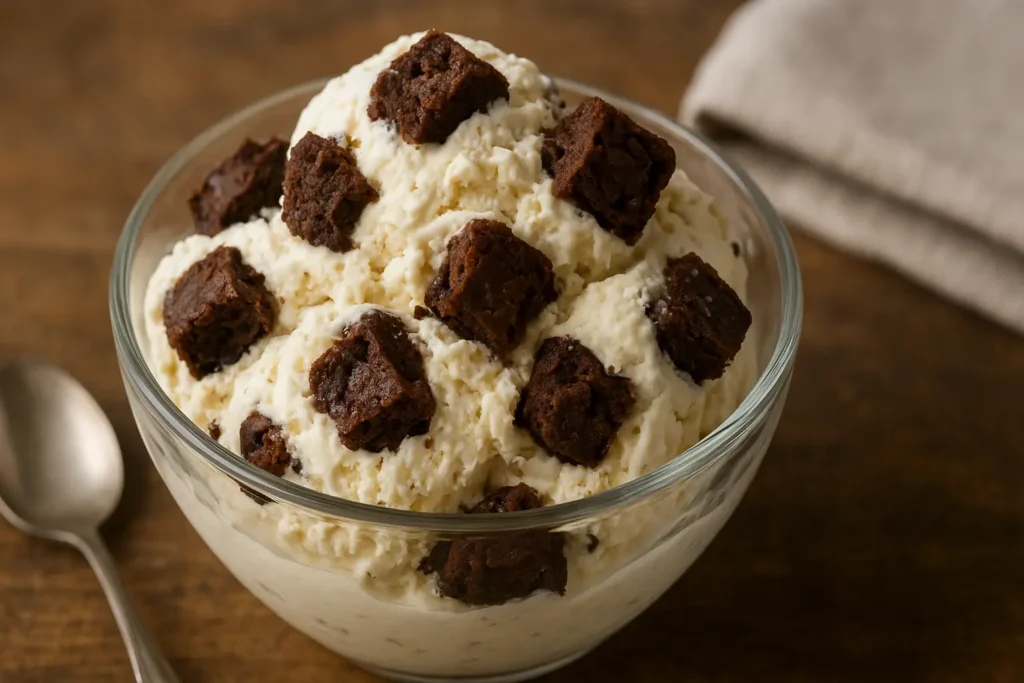
Role of Stabilizers and Additives in No-Machine Ice Cream
Stabilizers and additives play an important role in making creamy and smooth ice cream without using a machine. They prevent ice crystals from forming, maintain texture, and improve the overall quality of the dessert.
Gelatin and Egg Yolks
- Gelatin : Acts as a natural stabilizer by binding water and fat, keeping the ice cream smooth.
- Egg Yolks : Add richness and a custard-like texture, giving the ice cream a luxurious mouthfeel.
- Function : Both ingredients help create a soft, creamy texture that does not become icy during freezing.
Plant-Based Gums (Xanthan, Guar)
- Ideal for vegan or dairy-free ice cream options.
- These gums help maintain smoothness and creaminess without using heavy cream.
- They stabilize the mixture, ensuring that the texture stays consistent even after freezing.
Why They Matter
- Prevent ice crystals from forming, which keeps each scoop soft and enjoyable.
- Improve the overall mouthfeel, making the ice cream rich and creamy.
- Allow more flexibility in recipes, including vegan, dairy-free, or lower-fat versions.
Using the right stabilizers and additives ensures that no-machine ice cream is consistently creamy, smooth, and indulgent, making it a reliable dessert for both beginners and experienced cooks.
Aging the Ice Cream Base for Flavor Development
Allowing the ice cream base to rest in the refrigerator before freezing is a simple yet powerful step that enhances both flavor and texture. This technique, often overlooked, helps the ingredients combine fully and develop a richer, more balanced taste.
How Aging Works
- Flavor Enhancement : Resting allows the vanilla and other flavorings to infuse thoroughly, creating a deeper, more aromatic taste.
- Improved Texture : The mixture thickens slightly, which helps it set better during freezing and results in a creamier ice cream.
- Better Consistency : Air bubbles incorporated during mixing settle slightly, producing a smoother, more even texture.
Practical Tips
- Cover the base tightly and refrigerate for at least 2–4 hours before freezing.
- Longer resting times, such as overnight, can intensify the vanilla flavor.
- Stir gently before freezing to ensure all ingredients are evenly distributed.
By aging the ice cream base, you can achieve a homemade dessert that tastes more like professional ice cream, with richer flavor and a soft, creamy texture that melts perfectly in the mouth.
Ingredients for Vanilla Ice Cream Without a Machine
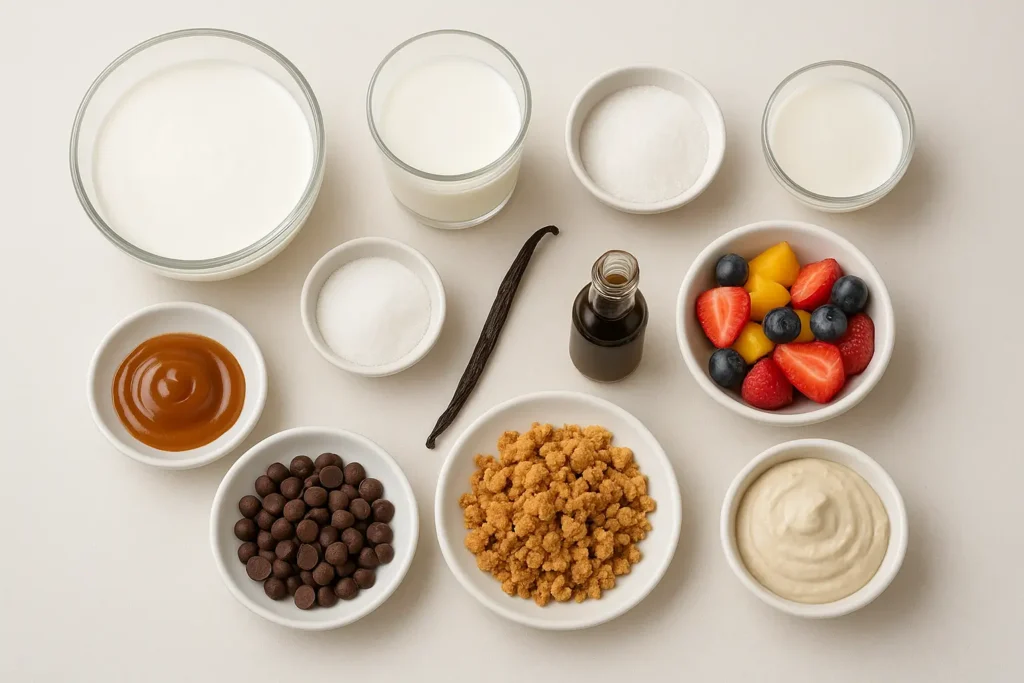
Making vanilla ice cream at home without a machine is simple, and using the right ingredients ensures a creamy, smooth, and flavorful result. Below is a detailed breakdown of key ingredients, optional add-ins, and best substitutions for special diets.
Key Ingredients
- Heavy Cream or Whipping Cream : Provides richness, volume, and a soft texture.
- Whole Milk : Balances the creaminess and helps achieve the perfect consistency.
- Sugar or Sweetener : Adds sweetness and helps maintain smooth texture during freezing.
- Pure Vanilla Extract or Vanilla Bean : Gives the classic vanilla flavor that defines this dessert.
Optional Add-Ins for Extra Flavor
- Chocolate Chips : Adds crunch and chocolate flavor in every bite.
- Caramel Swirls : Creates a sweet, gooey texture that complements the creamy base.
- Cookie Crumbles : Adds texture and flavor variation, making it more indulgent.
- Fresh Fruit : Strawberries, blueberries, or mango chunks give freshness and natural sweetness.
Best Quality Substitutions for Special Diets
- Coconut Cream or Almond Milk : Perfect for dairy-free or vegan versions without losing creaminess.
- Stevia or Erythritol : Healthy sugar-free alternatives that maintain sweetness without affecting texture.
- Cashew Cream : Adds extra richness and a nutty flavor, ideal for a luxurious vegan option.
Using these ingredients correctly ensures that your homemade no-machine vanilla ice cream is creamy, smooth, and full of flavor. You can customize it based on taste preferences, dietary needs, or fun mix-ins to make it your own special dessert.
Different Methods to Make Vanilla Ice Cream Without a Machine
Making vanilla ice cream at home without a machine can be done in several creative ways. Each method has its own technique, and understanding them allows you to choose the one that fits your kitchen, tools, and time availability.
1. Classic No-Churn Method (Condensed Milk + Whipped Cream)
- Step 1 : Whip the cream until it becomes light and fluffy.
- Step 2 : Gently fold in sweetened condensed milk and pure vanilla extract.
- Step 3 : Pour into a freezer-safe container and freeze for 4–6 hours until set.
- Why It Works : Whipping incorporates air while condensed milk prevents ice crystals, producing creamy, soft ice cream.
2. Custard-Based Method (Egg Yolks + Sugar + Cream)
- Step 1 : Cook egg yolks with sugar and milk gently to form a custard.
- Step 2 : Cool the custard completely.
- Step 3 : Whip cream separately and fold into the custard mixture.
- Step 4 : Freeze until firm.
- Why It Works : Egg yolks add richness and a silky texture, creating a classic homemade ice cream experience.
3. Freeze-and-Stir Method (Freezer Tray + Regular Stirring)
- Pour the mixture into a flat freezer tray.
- Every 30 minutes, stir the mixture to break ice crystals.
- Repeat until the ice cream is fully frozen and creamy.
- Why It Works : Regular stirring mimics churning and ensures a smooth texture.
4. Plastic Bag Method (Ice + Salt + Shaking)
- Step 1 : Seal the ice cream mixture in a small plastic bag.
- Step 2 : Place the bag inside a larger bag filled with ice and salt.
- Step 3 : Shake vigorously until the mixture thickens.
- Why It Works : Salt lowers the freezing point of ice, allowing the mixture to freeze while remaining creamy.
5. Mason Jar Method (Shake and Freeze)
- Step 1 : Add ingredients to a mason jar and seal tightly.
- Step 2 : Shake the jar continuously to mix and aerate.
- Step 3 : Freeze the jar for a single-serving ice cream.
- Why It Works : Simple for individual portions and fun for kids.
6. Blender or Food Processor Method
- Step 1 : Freeze milk or cream cubes.
- Step 2 : Blend frozen cubes with condensed milk and vanilla until smooth.
- Why It Works : The blender crushes ice and mixes ingredients evenly, producing soft, creamy ice cream quickly.
7. Hand Mixer or Whisk Method
- Step 1 : Whip the cream by hand or using a mixer.
- Step 2 : Fold in other ingredients and freeze in a container.
- Step 3 : Stir occasionally during freezing to maintain smoothness.
- Why It Works : Simple, accessible method requiring only basic tools.
By understanding these different techniques, anyone can make delicious homemade vanilla ice cream without needing a machine. Each method allows flexibility, creativity, and the chance to experiment with flavors and textures.
DIY No-Machine Techniques Compared: Pros & Cons
When making vanilla ice cream at home without a machine, each technique has its own advantages and limitations. Understanding these helps you choose the best method for your kitchen, tools, and preferences.
1. No-Churn Method
- Pros : Very easy to make, produces a creamy and soft texture, perfect for beginners.
- Cons : Relies on sweetened condensed milk, which adds sweetness and calories.
2. Custard-Based Method
- Pros : Rich, classic taste with a silky, luxurious texture.
- Cons : Requires careful cooking and more steps, so it is time-consuming.
3. Freeze-and-Stir Method
- Pros : Traditional method that produces a smooth texture.
- Cons : Needs frequent stirring during freezing, making it more labor-intensive.
4. Plastic Bag Method
- Pros : Fun and interactive, especially for children.
- Cons : Makes only small batches, not ideal for serving many people.
5. Mason Jar Method
- Pros : Quick, easy, and great for single-serving ice cream.
- Cons : Limited quantity, not suitable for large gatherings.
6. Blender or Food Processor Method
- Pros : Very fast, smooth, and creamy texture.
- Cons : Requires equipment like a blender or food processor.
7. Hand Mixer or Whisk Method
- Pros : Simple, requires only basic kitchen tools.
- Cons : Needs patience, and occasional stirring is necessary to maintain smoothness.
By comparing these methods, you can pick the technique that best fits your needs, whether you want quick ice cream, a rich custard style, or a fun activity for family and kids. Each method offers a unique way to enjoy homemade no-machine vanilla ice cream.
Step-by-Step Guide to Make Vanilla Ice Cream Without a Machine
Making delicious homemade vanilla ice cream without a machine is simple if you follow a clear step-by-step process. Each step is designed to ensure creamy texture, rich flavor, and smooth consistency.
Step 1: Preparing the Base
- Mix heavy cream or whipping cream, whole milk, sugar, and pure vanilla extract.
- For custard-style ice cream, gently cook egg yolks with sugar and milk until thickened.
- Allow the base to cool completely if using cooked custard to avoid curdling.
- Optional : Add flavors or mix-ins like chocolate chips, fruit, or caramel at this stage for a customized dessert.
Step 2: Whipping and Mixing
- Whip cream until soft peaks form.
- Gently fold the whipped cream into the prepared base mixture to incorporate air without deflating it.
- Ensure even mixing for a smooth and creamy texture.
Step 3: Freezing Properly
- Transfer the ice cream mixture into an airtight, freezer-safe container.
- Cover tightly to prevent ice crystals and odors from affecting the ice cream.
- Freeze for at least 4–6 hours, or overnight for best results.
Step 4: Stirring for Creaminess
- If using the freeze-and-stir method, remove the container every 30 minutes.
- Stir gently to break any forming ice crystals and maintain a smooth consistency.
- Repeat this process for 2–3 hours until the ice cream is fully set and creamy.
Step 5: Serving and Garnishing
- Scoop the ice cream into bowls or cones.
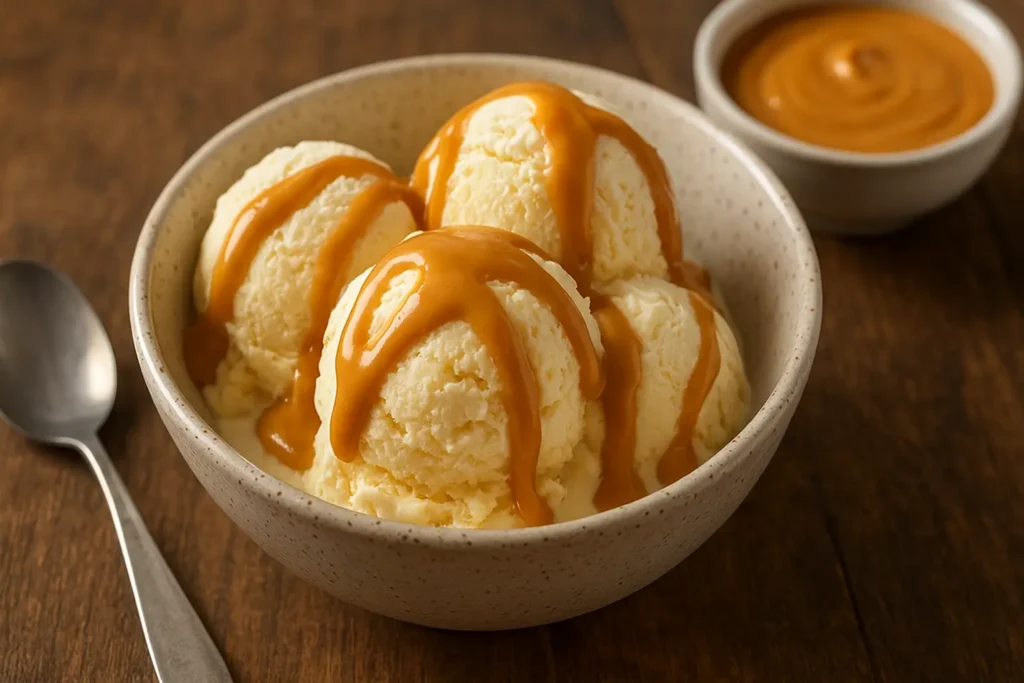
- Garnish with nuts, chocolate syrup, caramel, cookie crumbles, or fresh fruit.
- Serve immediately for soft-serve texture or after firm freezing for a classic scoop.
By following these steps carefully, you can enjoy a homemade, creamy vanilla ice cream that rivals store-bought versions, all without using a machine.
Tips to Get Perfect Vanilla Ice Cream Without a Machine
Making creamy and smooth vanilla ice cream at home without a machine can be simple if you follow a few essential tips. These steps ensure your ice cream is rich, soft, and melts perfectly in every bite.
1 : Chill the Mixing Bowl
- Keep your mixing bowl and whisk in the refrigerator for 15–20 minutes before whipping cream.
- Cold equipment helps the cream whip faster and maintain stable peaks.
- This small step prevents the cream from turning runny and ensures a fluffy texture.
2 : Use High-Fat Cream for Best Texture
- Use heavy cream or whipping cream with at least 35% fat for the richest and creamiest ice cream.
- Low-fat cream may result in a softer or icy texture, so using high-fat cream is essential.
3 : Avoid Over-Whipping
- Whip the cream until soft or medium peaks form.
- Over-whipping can cause the cream to become grainy or separate.
- Gently fold whipped cream into the base mixture to maintain lightness and creaminess.
4 : Cover Container Tightly to Prevent Ice Crystals
- Use an airtight, freezer-safe container to prevent ice crystals.
- Press plastic wrap directly on the surface of the ice cream for extra protection.
- Proper covering ensures smooth, creamy ice cream even after long freezing.
5 : Additional Expert Tips
- Age the ice cream base in the fridge for a few hours to enhance vanilla flavor.
- Stir occasionally during freezing for methods like freeze-and-stir to keep smoothness.
- Add mix-ins like chocolate chips, fruit, or cookie crumbs at the final stage to prevent sinking.
By following these tips carefully, you can make professional-quality, homemade vanilla ice cream that is creamy, flavorful, and enjoyable without any machine.
Incorporating Air: The Key to Creamy Texture
Achieving a perfectly creamy and light texture in homemade vanilla ice cream without a machine depends largely on how much air you incorporate into the mixture. Air is what prevents the ice cream from becoming hard and icy, giving it that soft, melt-in-your-mouth quality.
1 : Whipping the Cream
- Whip heavy cream or whipping cream until soft or medium peaks form before folding it into the base mixture.
- Whipping introduces air bubbles that expand during freezing, creating a light, fluffy texture.
- Ensure the cream is cold; chilled cream whips faster and holds air more effectively.
2 : Folding, Not Stirring
- Gently fold the whipped cream into the milk and sugar base instead of stirring vigorously.
- This technique preserves the air bubbles and maintains the airy structure.
- Over-mixing can deflate the cream and make the ice cream dense.
3 : Benefits of Air Incorporation
- Creates a soft, creamy texture similar to churned ice cream.
- Prevents large ice crystals from forming, keeping the ice cream smooth.
- Allows mix-ins like chocolate chips or fruit to stay evenly suspended without sinking.
By focusing on air incorporation, you can make homemade vanilla ice cream that is luxuriously creamy and light, even without using any machine. This step is essential for anyone aiming for professional-quality, no-churn ice cream.
Using Salt & Ice Block Techniques for Rapid Soft-Serve
Creating quick, soft-serve style vanilla ice cream at home without a machine is possible by using the traditional salt and ice block technique. This method speeds up freezing and produces a smooth texture that is perfect for immediate serving.
1 : How Salt Works
- Salt lowers the freezing point of ice, which means the ice cream mixture freezes faster.
- Faster freezing prevents large ice crystals from forming, resulting in a smoother, softer texture.
- It is particularly useful when you want a quick, soft-serve consistency without long freezing times.
2 : Step-by-Step Technique
- Fill a large bowl or container with crushed ice.
- Add rock salt around the ice to create an even cooling effect.
- Place your ice cream mixture in a smaller sealed bag or container.
- Submerge the sealed mixture into the ice-salt mixture and shake or rotate occasionally for even freezing.
- Continue until the ice cream reaches a soft-serve texture.
3 : Benefits of This Method
- Quick and effective for single servings or small batches.
- Fun and interactive, especially for kids or family activities.
- Produces creamy, soft ice cream without a machine.
By using the salt and ice block technique, you can enjoy homemade vanilla ice cream in a soft-serve style almost instantly, combining science and traditional methods for a delicious result.
Container & Freezer Type: Effects on Freezing and Texture
The type of container and freezer setting you use has a big impact on the texture and quality of homemade vanilla ice cream without a machine. Choosing the right equipment can make your ice cream smooth, creamy, and perfectly frozen.
1 : Shallow vs. Deep Containers
- Shallow Containers : Freeze the ice cream mixture faster and more evenly because the cold reaches all parts of the mixture quickly.
- Deep Containers : May require longer freezing time, which can sometimes result in ice crystals if not stirred occasionally.
- Recommendation : Use a shallow, wide container for even freezing and smooth texture.
2 : Freezer Temperature
- Deep Freezer Setting : Helps maintain a steady, very cold environment which prevents ice crystals and preserves creaminess.
- Regular Freezer : Works fine for short-term freezing but may need extra time or occasional stirring for smooth texture.
3 : Additional Tips for Best Texture
- Cover the container tightly with a lid or plastic wrap to prevent freezer burn and ice formation.
- For extra creamy texture, stir the mixture once or twice during the first hour of freezing if using a regular freezer.
- Avoid opening the freezer frequently, as temperature fluctuations can affect the ice cream consistency.
By choosing the right container and freezer settings, you can ensure your no-machine vanilla ice cream is creamy, smooth, and ready to enjoy with perfect texture every time.
Preventing Ice Crystals in No-Machine Ice Cream
Ice crystals can ruin the creamy texture of homemade ice cream. By following proper techniques, you can prevent their formation and enjoy smooth, soft ice cream without a machine.
1. Place Plastic Wrap Directly on the Surface
- Lay a clean piece of plastic wrap so it touches the entire surface of the ice cream mixture.
- Ensure there are no air pockets, as trapped air encourages ice crystals.
- This simple step keeps the ice cream creamy and smooth.
Steps to follow:
- Take a clean, food-safe plastic wrap.
- Gently place it over the ice cream mixture.
- Press lightly to make sure it sticks to the surface without gaps.
2. Seal in an Airtight Container
- After applying plastic wrap, put the mixture in an airtight container.
- Airtight containers reduce moisture loss and prevent freezer burn.
- This keeps the ice cream fresh and soft for longer periods.
Steps to follow:
- Select a freezer-safe container that fits the mixture well.
- Place the plastic-wrapped mixture inside the container.
- Close the lid tightly without leaving any openings.
3. Stir Occasionally for Extra Smoothness
- If using a freeze-and-stir method, stirring prevents large ice crystals from forming.
- It keeps the ice cream light, airy, and smooth.
Steps to follow:
- Use a clean spoon or spatula.
- Stir gently every 30 minutes during the first hour of freezing.
- Ensure the mixture remains even and creamy.
4. Freeze in the Coldest Part of Freezer
- Position the container in the coldest section of your freezer for faster and even freezing.
- Avoid opening the freezer frequently, as temperature changes cause ice crystals to form.
Steps to follow:
- Set the freezer to its lowest temperature setting.
- Keep the container steady in one place.
- Wait until the ice cream is completely frozen before serving.
Variations of Vanilla Ice Cream Without Machine
Homemade vanilla ice cream is simple and fun. You can easily make new flavors by adding a few ingredients. Here are some tasty variations to try at home:
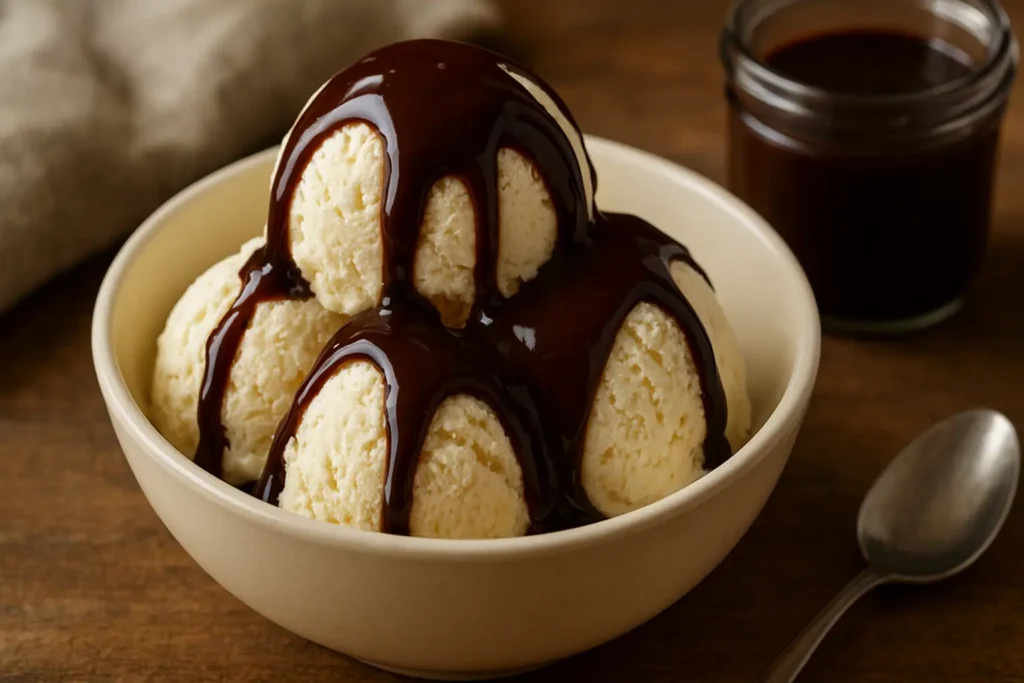
1. Chocolate Swirl Vanilla
- Add chocolate syrup or melted chocolate to your vanilla mixture before freezing.
- Gently fold it in to create beautiful swirls.
- This adds a chocolatey taste while keeping the creamy texture.
Steps to follow:
- Prepare your no-machine vanilla ice cream base.
- Drizzle chocolate syrup on top of the mixture.
- Use a spatula to fold lightly, creating swirls without mixing completely.
- Freeze until firm.
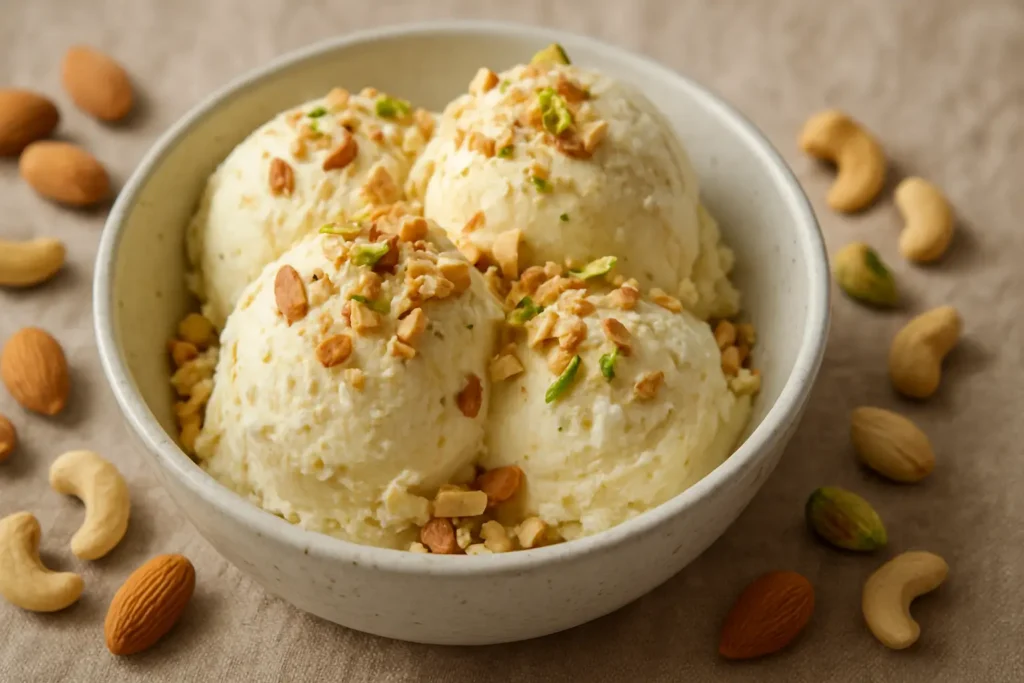
2. Vanilla with Roasted Almonds
- Add roasted almond pieces for a crunchy texture and nutty flavor.
- Almonds enhance taste and make ice cream more enjoyable.
Steps to follow:
- Chop roasted almonds into small pieces.
- Mix them into the ice cream base gently.
- Freeze in an airtight container until set.
3. Vanilla with Strawberry Puree
- Blend fresh strawberries into a smooth puree.
- Mix the puree into vanilla ice cream for a fruity twist.
Steps to follow:
- Wash and hull fresh strawberries.
- Blend into a smooth puree.
- Fold the puree gently into the ice cream base.
- Freeze until firm.
4. Coffee Vanilla Blend
- Add a small amount of coffee or espresso for a coffee-flavored vanilla ice cream.
- The combination gives a rich and aromatic taste.
Steps to follow:
- Prepare your vanilla base.
- Add coffee or espresso and mix gently.
- Freeze until creamy and firm.
Innovative Flavor Inspirations for No-Machine Ice Cream
Homemade no-machine vanilla ice cream is very flexible. You can add simple ingredients to create unique and exciting flavors. These small additions make your ice cream taste special and different every time.
1. Matcha Green Tea Vanilla
- Matcha powder adds a fresh and slightly bitter taste that pairs well with vanilla.
- It gives the ice cream a natural green color and an exotic flavor.
Steps to follow:
- Sift 1–2 teaspoons of matcha powder to remove lumps.
- Mix it into the prepared vanilla ice cream base.
- Fold gently until evenly combined.
- Freeze in an airtight container until firm.
2. Saffron Infused Vanilla
- Saffron adds a subtle floral aroma and a golden hue to ice cream.
- A few strands are enough for a luxurious taste.
Steps to follow:
- Soak 5–6 saffron strands in 1 tablespoon of warm milk for 10 minutes.
- Stir the saffron milk into the vanilla base.
- Mix gently and freeze until set.
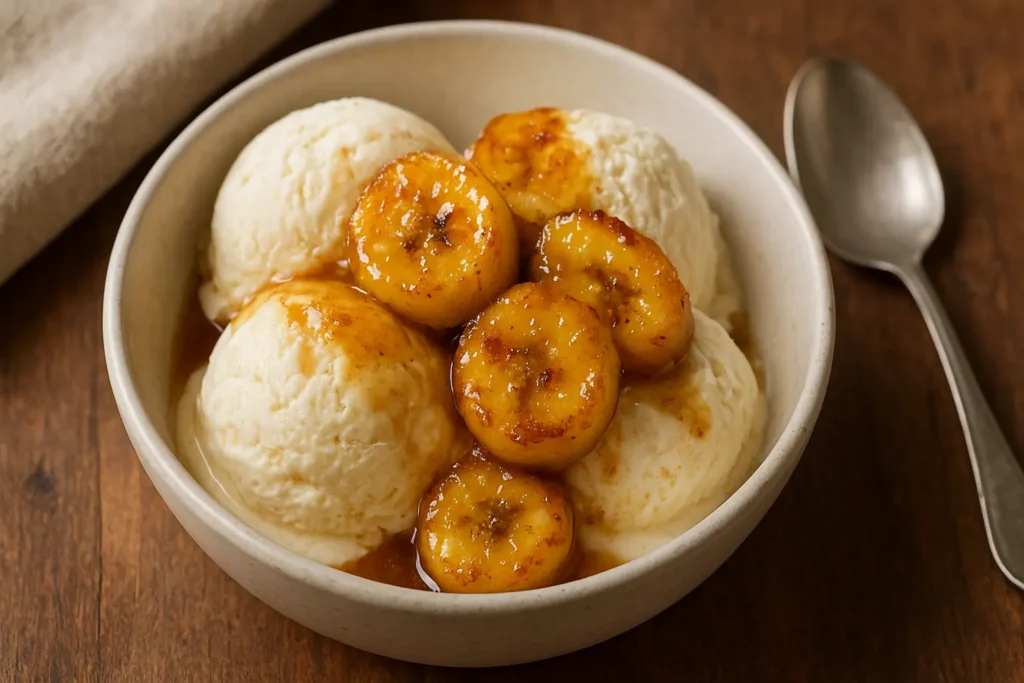
3. Caramelized Banana Vanilla
- Caramelized bananas give sweetness and a soft texture.
- This adds a rich, dessert-like flavor that everyone loves.
Steps to follow:
- Slice 1–2 ripe bananas.
- Cook them in a small pan with 1 teaspoon sugar until golden brown.
- Cool slightly and fold into the ice cream base.
- Freeze until firm.
4. Cinnamon Vanilla
- Cinnamon adds a warm, spicy flavor that balances the creamy vanilla.
- Perfect for cold seasons or for a cozy dessert.
Steps to follow:
- Add ½ teaspoon ground cinnamon to the vanilla base.
- Mix well until evenly combined.
- Freeze in an airtight container until set.
Fruit-Puree Based Frozen Desserts (Granita, Semifreddo, Sherbet)
Fruit-puree desserts are a fresh and light alternative to traditional no-machine ice cream. They are simple to make at home and bring vibrant flavors to your table. Using fruits like berries, mangoes, or citrus gives natural sweetness and a colorful presentation.
1. Granita: Icy Fruit Dessert
- Granita is a simple, semi-frozen dessert made from fruit juice or puree.
- It is grainy, icy, and refreshing, perfect for hot days.
Steps to follow:
- Blend your favorite fruit into a smooth puree.
- Add sugar to taste and a little lemon juice for balance.
- Pour into a shallow tray and freeze for 1 to 2 hours.
- Every 30 minutes, scrape the mixture with a fork to create ice crystals.
- Serve in bowls or glasses as a refreshing treat.
2. Semifreddo: Creamy Frozen Dessert
- Semifreddo is a light and creamy dessert that does not need a machine.
- It combines whipped cream with fruit puree for smooth texture.
Steps to follow:
- Whip heavy cream until soft peaks form.
- Fold in fruit puree and a little sugar gently.
- Transfer to a loaf pan and cover tightly.
- Freeze for at least 4 hours or until firm.
- Slice and serve chilled with fresh fruit or syrup.
3. Sherbet: Fruity and Tangy
- Sherbet is lighter than ice cream and has a tangy flavor from citrus or berries.
- It is slightly icy but creamy enough to enjoy.
Steps to follow:
- Blend fruit puree with sugar and a small amount of milk or cream.
- Pour the mixture into an airtight container.
- Freeze for 2 to 3 hours, stirring every 30 to 40 minutes to prevent large ice crystals.
- Serve in small cups for a refreshing dessert.
Vegan & Dairy-Free No-Churn Alternatives
Making no-machine vanilla ice cream can be fully vegan and dairy-free. You can use:
- Coconut cream: Thick, creamy, and rich for smooth texture.
- Cashew milk: Adds a mild, nutty flavor while keeping it creamy.
- Oat milk: Works well for a lighter alternative and blends smoothly.
Tips for best results:
- Use natural sweeteners like maple syrup, agave, or coconut sugar.
- Blend the ingredients thoroughly to get a smooth, creamy base.
- Chill the mixture slightly before freezing for better texture.
Sweetener Choices for No-Machine Vanilla Ice Cream
Natural Sugars
- Sugar, honey, or maple syrup give natural sweetness and enhance the flavor.
Sugar-Free Options
- Stevia, erythritol, or monk fruit are ideal for sugar-free or keto-friendly ice cream.
- Adjust sweetness carefully to avoid aftertaste or overpowering flavors.
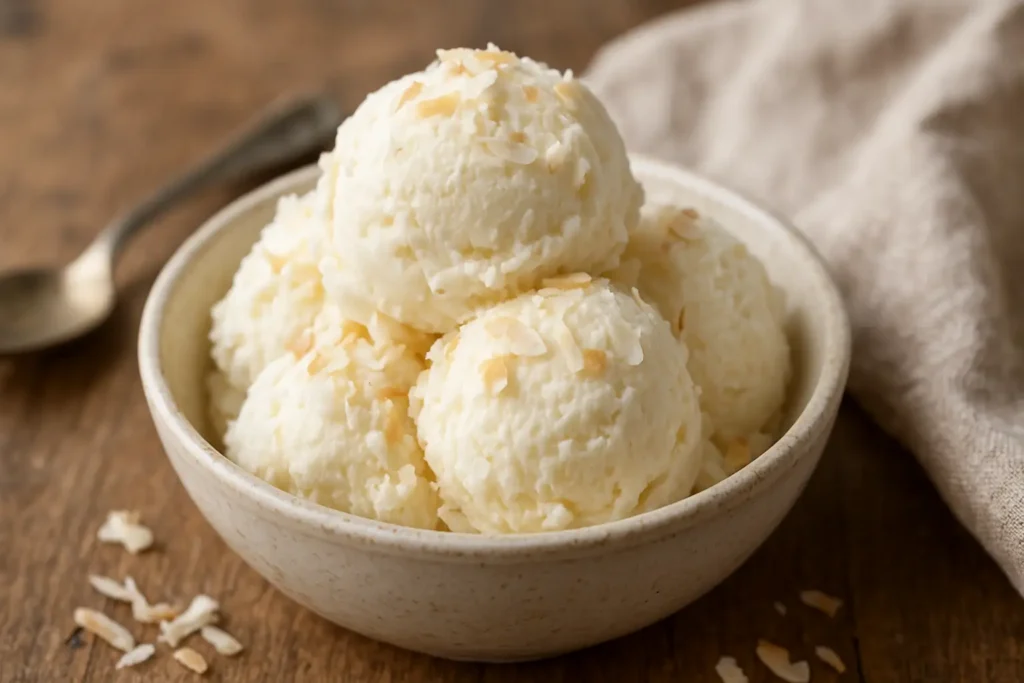
Quick Method Recap: 3-Ingredient Vanilla Ice Cream
For beginners, a simple method works perfectly:
- Whipped cream: Whip until soft peaks form.
- Condensed milk: Fold gently into whipped cream.
- Vanilla: Add pure extract for aroma.
- Freeze in an airtight container for a creamy, no-machine vanilla ice cream.
Troubleshooting: Fixing Icy, Hard, or Flat Ice Cream
- Icy texture: Whip more air next time to keep it fluffy.
- Too hard: Let ice cream sit at room temperature for a few minutes before scooping.
- Flat flavor: Use higher fat cream or add natural flavor enhancers.
Serving Suggestions for Vanilla Ice Cream Without a Machine
- Pair with brownies, cookies, or warm pies for indulgence.
- Serve in cones for kids or parties.
- Top with caramel, chocolate sauce, or fresh fruit for extra flavor.
Serving Hacks for Perfect Texture
Warm Scoop Technique
- Dip your scoop in warm water before serving to get clean, perfect scoops.
Soft-Serve Strategies
- Let ice cream sit at room temperature for 5 minutes before scooping for soft-serve style.
Storage & Shelf Life of No-Machine Vanilla Ice Cream
- Store in airtight containers to keep fresh for up to 2 weeks.
- Cover the surface with plastic wrap or parchment to prevent freezer burn.
- Keep the freezer at a consistent cold temperature for best texture.
Common Mistakes to Avoid
When making no-machine vanilla ice cream, beginners often make simple errors that affect texture and taste. Avoid these mistakes for a perfect creamy dessert:
- Using low-fat cream
- Low-fat cream cannot hold air well.
- It produces icy or flat ice cream instead of creamy texture.
- Skipping the stirring step
- For freeze-and-stir method, stirring every 30 minutes ensures smoothness.
- Skipping it can lead to uneven freezing and hard ice chunks.
- Over-whipping cream
- Whipping too much separates fat and liquid.
- Ice cream becomes grainy instead of fluffy.
- Not sealing container properly
- Leaving the container uncovered or loosely sealed causes ice crystals.
- Cover with plastic wrap directly on the surface and then close the lid tightly.
Pro Tips:
- Always use fresh, high-fat cream for best results.
- Set a timer for stir intervals if using freeze-and-stir method.
- Keep all utensils and containers chilled before starting for smoother mixing.
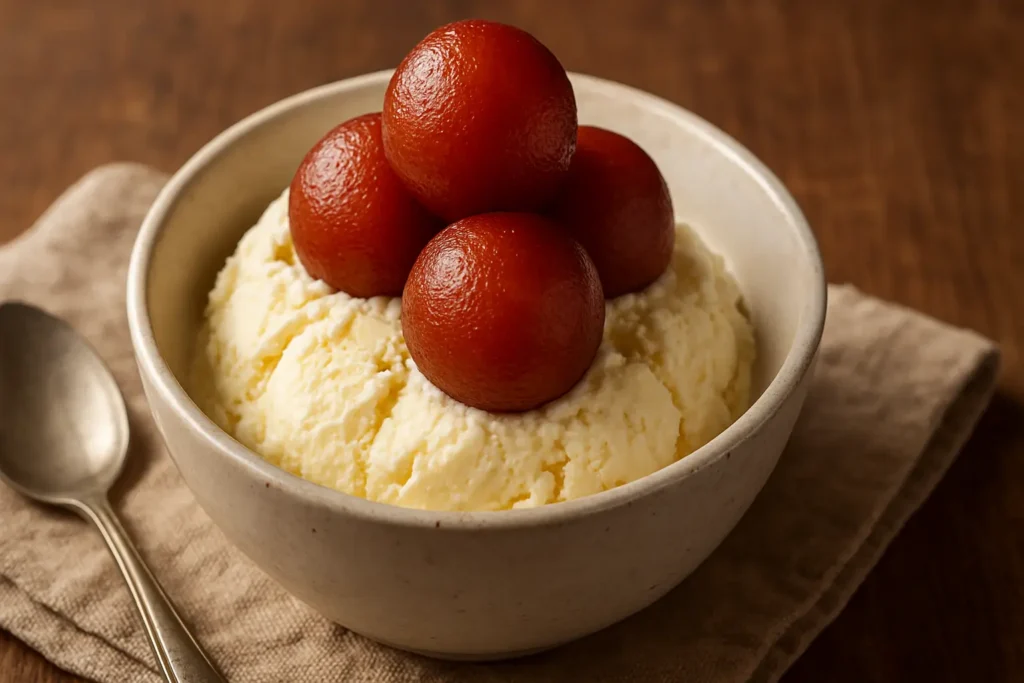
Frequently Asked Questions
Q1. How can I make ice cream at home without a machine?
You can make ice cream without a machine using whipped cream, milk, sugar, and flavorings like vanilla. Whip the cream, fold it into the milk and sugar mixture, then freeze. Stir occasionally for smooth texture.
Q2. How to make vanilla ice cream at home in a bag?
Pour your ice cream mixture into a small sealed plastic bag. Place it inside a larger bag filled with ice and salt. Shake well for 10–15 minutes until thick and creamy.
Q3. What are the 5 main ingredients in ice cream?
The main ingredients are:
Milk or cream
Sugar
Flavoring (like vanilla)
Egg yolks (optional, for custard)
Air (incorporated by whipping for texture)
Q4. How to make ice cream at home in 2 minutes?
Quick ice cream can be made by blending frozen milk cubes with sugar and vanilla in a food processor until smooth. This gives a soft-serve style ice cream instantly.
Q5. How to make ice cream in 5 minutes?
Use the bag method or blender method with frozen ingredients. Shake the ice-and-salt bag or blend frozen cubes until creamy. This works best for single servings.
Q6. How to make ice cream at home in a simple way?
The simplest way is the no-churn method. Just whip cream, fold in sweetened condensed milk and vanilla, pour the mixture into a container, cover it, and freeze. Stir once or twice while freezing to keep it smooth and creamy.
Q7. How is vanilla ice cream made?
Vanilla ice cream is made by combining cream, milk, sugar, and vanilla. Whipping the cream adds lightness. Freezing the mixture and stirring occasionally prevents ice crystals, giving you smooth and creamy ice cream.
Q8. How to make simple vanilla ice at home?
Mix milk, sugar, and vanilla in a bowl. Freeze it in a shallow container. Every 30 minutes, stir the mixture for 2–3 hours until creamy. For a richer texture, you can fold in some whipped cream.
Q4: What is the 7-ingredient classic vanilla ice cream recipe?
A classic vanilla ice cream recipe usually includes:
Heavy cream
Whole milk
Sugar
Egg yolks
Vanilla extract
A pinch of salt
Optional: a stabilizer like gelatin for extra smoothness
Bonus Tips
Making vanilla ice cream at home without a machine can be easy and fun. With a few expert tips, you can make it smooth, creamy, and rich in flavor. These tips will help you get professional results without any special equipment.
- Always Chill Your Mixing Bowl
• Place your mixing bowl in the fridge or freezer for 15–20 minutes before starting.
• A chilled bowl keeps cream or egg whites stable while whipping.
• This ensures your ice cream is light, fluffy, and creamy. - Use Pure Vanilla Extract or Vanilla Beans
• Vanilla adds natural sweetness and enhances flavor.
• Using pure vanilla extract or real vanilla beans gives a richer taste than artificial vanilla.
• It makes your ice cream smell and taste like a premium, bakery-quality dessert. - Freeze in Shallow Containers for Best Results
• Always use shallow containers for freezing ice cream.
• Shallow containers allow the ice cream to freeze evenly and faster.
• This prevents ice crystals from forming and keeps the texture smooth and creamy.
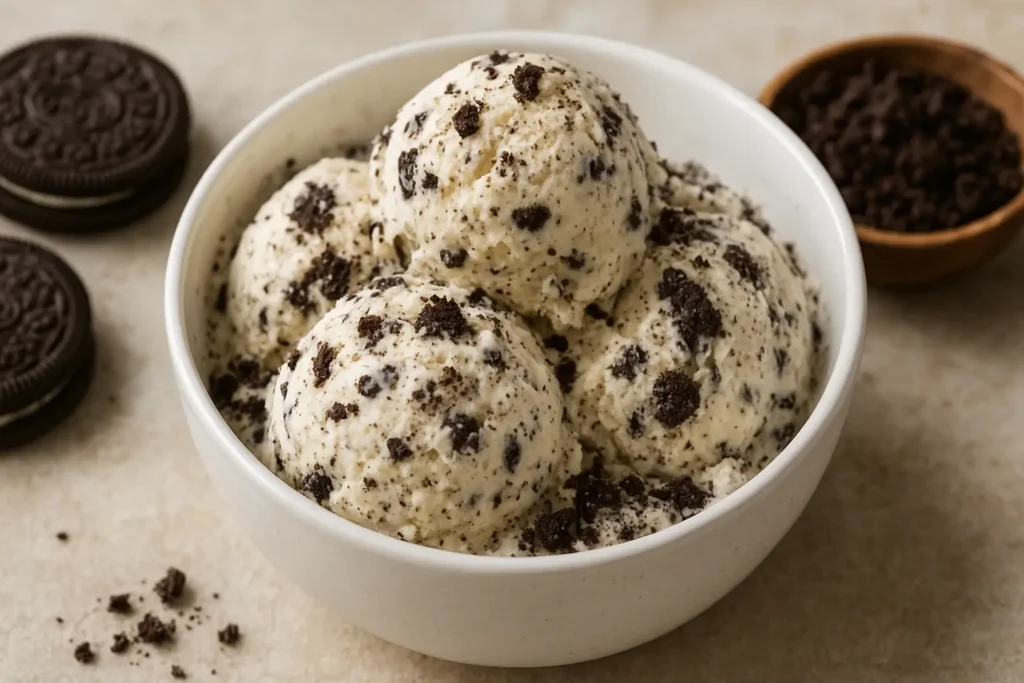
Science Meets Dessert: Texture Modeling & Air Structure
Making vanilla ice cream without a machine is not just about mixing ingredients. It’s about understanding the science of texture and the role of air, fat, and ice. When done correctly, even a simple, homemade ice cream can be smooth, creamy, and indulgent.
How Air and Cream Create Smooth Texture
- Whipping Cream Traps Air
• When you whip heavy cream, small air bubbles get trapped in it.
• These air bubbles are essential because they give the ice cream a light, fluffy, and creamy texture.
• Without air, your ice cream would be dense and icy instead of soft and smooth. - Fat Balances Ice Formation
• The fat in cream slows down ice crystal formation.
• This ensures the ice cream freezes evenly and prevents large ice crystals, which can make it crunchy instead of creamy.
• Using full-fat cream helps achieve that luxurious, velvety texture. - Ice and Freezing Technique Matter
• Shallow containers freeze the mixture faster, which keeps the ice crystals small.
• Fast freezing combined with whipped air ensures your ice cream stays soft and scoopable.
By understanding these basic principles, you can make homemade vanilla ice cream without a machine that rivals store-bought versions in both taste and texture.
Related Recipes You Might Like
If you enjoyed making vanilla ice cream without a machine, these simple and delicious recipes will also delight your taste buds. Each one is easy to prepare at home and perfect for sharing with family and friends.
- Cream Cheese Fruit Dip
• A creamy and fruity dessert dip that pairs perfectly with fresh fruits.
• Quick to prepare and ideal for parties or casual snacking. - Gajar Ka Halwa
• A classic Indian dessert made from grated carrots, milk, sugar, and ghee.
• Rich, flavorful, and perfect for winter or festive occasions. - Banana Bread
• Soft, moist, and naturally sweet, this banana bread is easy to bake at home.
• Great for breakfast, snacks, or dessert with a scoop of vanilla ice cream. - Olympics Chocolate Muffins Recipe
• Moist and chocolaty muffins inspired by the Olympics theme.
• Perfect for kids, family gatherings, or a special chocolate treat. - Suji Ka Halwa Recipe with Milk
• A traditional Indian dessert made with semolina, milk, sugar, and ghee.
• Soft, rich, and comforting, ideal for festive celebrations or dessert lovers. - Chocolate Molten Lava Cake
• A decadent chocolate cake with a gooey molten center.
• Quick to make and best served warm with a scoop of vanilla ice cream.
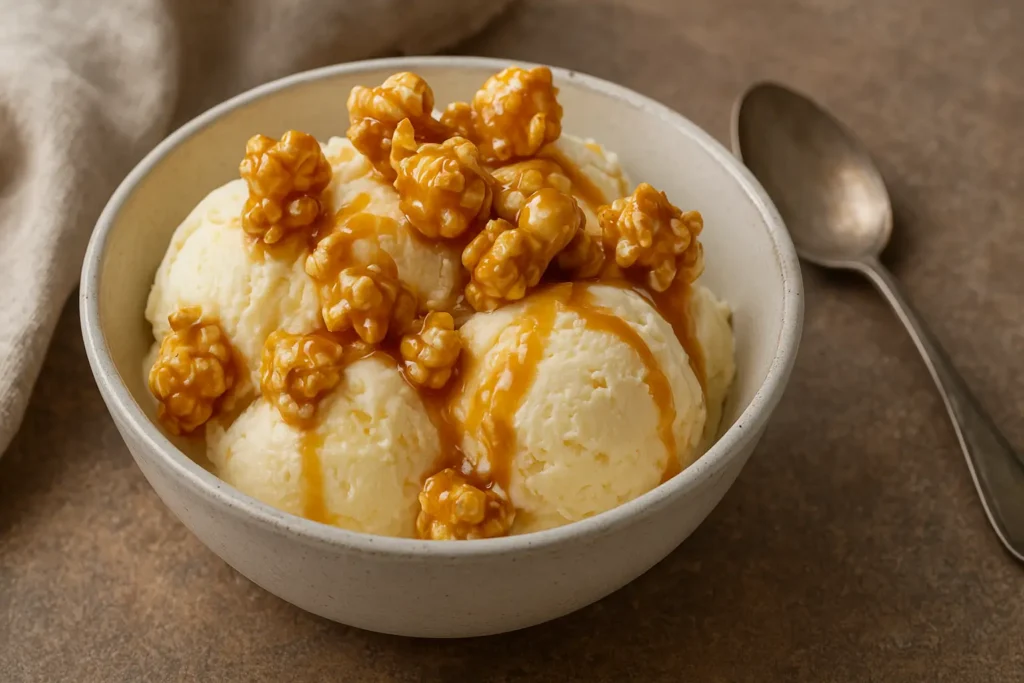
Why No-Machine Ice Cream Still Wins Hearts
Making ice cream without a machine is not just convenient, it also creates a unique and personal experience. Here’s why this method continues to win hearts among dessert lovers:
1. Simple and Easy to Make
• No special tools or machines are required.
• Anyone, even beginners, can create creamy vanilla ice cream at home.
• The process is straightforward, making it perfect for last-minute dessert cravings.
2. Budget-Friendly Option
• No need to invest in expensive ice cream machines.
• Uses common kitchen ingredients like cream, milk, sugar, and vanilla.
• Delicious ice cream can be made at a fraction of the cost of store-bought versions.
3. Delivers Delicious Results
• Whipping cream traps air bubbles, giving a light and creamy texture.
• Using pure vanilla extract or real beans enhances the natural flavor.
• Freezing in shallow containers ensures smooth and scoopable ice cream without ice crystals.
4. Adds a Personal Touch
• Making ice cream yourself creates a sense of accomplishment.
• You can experiment with flavors, mix-ins, or toppings according to personal preference.
• Sharing homemade ice cream with family or friends adds warmth and joy to every bite.
No-machine ice cream proves that simplicity does not compromise taste. With a few expert tips and basic ingredients, you can enjoy creamy, smooth, and rich vanilla ice cream that everyone will love.
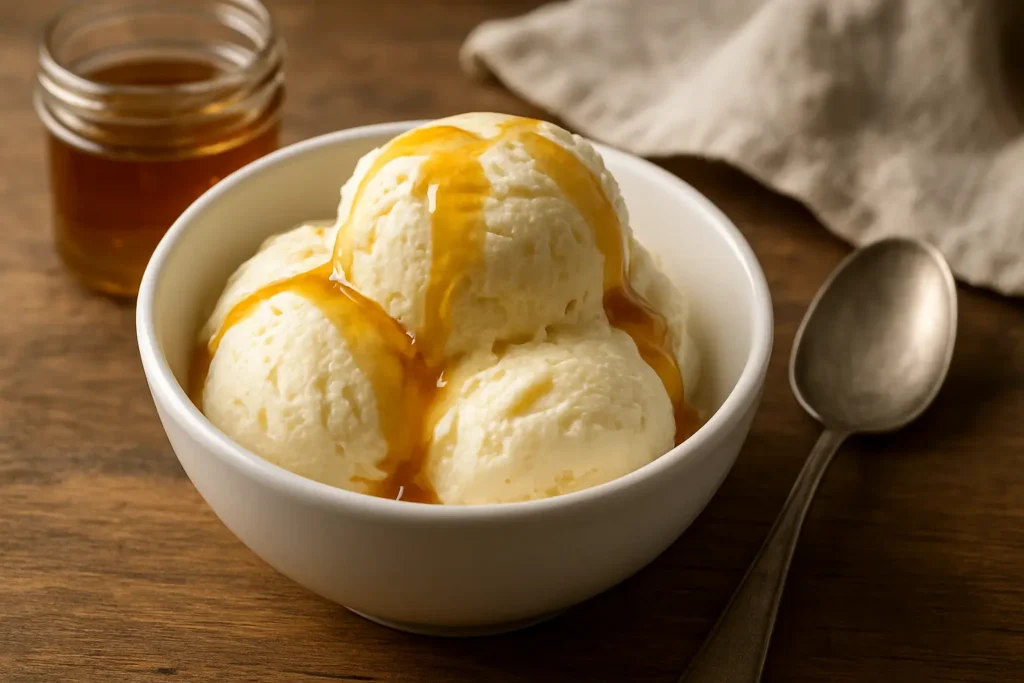
Final Thoughts
Making vanilla ice cream without a machine is simple, fun, and rewarding. Even without expensive tools, you can enjoy creamy, smooth, and delicious ice cream at home. Here are some key takeaways to remember:
1. Homemade Ice Cream is Simple and Accessible
• You do not need a fancy machine to make great ice cream.
• Basic kitchen tools and common ingredients are enough to create a perfect dessert.
2. Experiment with Flavors
• Try adding fruits, chocolate chips, nuts, or syrups to customize your ice cream.
• Using pure vanilla extract or real vanilla beans enhances natural flavor.
• This allows you to create unique versions according to your taste.
3. Sharing Makes It Special
• Homemade ice cream is more enjoyable when shared with family and friends.
• It adds a personal touch and brings joy during gatherings or casual treats.
• Making it yourself shows effort and care, which everyone appreciates.
4. Achieve Creamy Texture with the Right Method
• Whipping cream properly traps air for a soft and fluffy texture.
• Freezing in shallow containers ensures smooth, scoopable ice cream without ice crystals.
• These small steps make a big difference in the final dessert quality.
5. Share and Give Feedback
• Share this homemade ice cream recipe with your friends and family so everyone can enjoy it.
• Don’t forget to leave a comment below and let me know how you liked this recipe.
• Your feedback helps improve future recipes and encourages more fun dessert creations.
Homemade vanilla ice cream without a machine proves that great desserts do not require fancy tools. With the right method, attention to texture, and a little creativity, you can make ice cream that everyone will love. Enjoy experimenting with flavors, sharing your creation, and telling us what you think!
Vanilla Ice Cream Without a Machine
Ingredients
Equipment
Method
- Pour the cold heavy cream into a big mixing bowl. Cold cream whips better, so make sure it has been in the fridge before using.
- Use a hand mixer or whisk to beat the cream until it looks fluffy and holds soft peaks. This step adds air, which makes the ice cream light and creamy.
- Slowly fold in the sweetened condensed milk and vanilla. Folding keeps the air inside the cream. Do not stir too hard, or the mixture will lose its fluffiness.
- If you want extra flavor, gently mix in chocolate chips, caramel swirls, or cookie pieces. These make the ice cream fun and more special.
- Pour the mixture into a freezer-safe container. Smooth the top with a spatula so it freezes evenly.
- Cover the container with plastic wrap or a tight lid. Freeze for at least 4 hours, or until the ice cream is firm enough to scoop.
Notes
- Keep everything cold: Cold cream whips faster and makes the ice cream smoother.
- Prevent ice crystals: Place plastic wrap directly on the surface before covering the container with a lid. This helps keep the texture creamy.
- Rest before scooping: If the ice cream is too hard, leave it at room temperature for 2–3 minutes before serving.
- Make it your own:Try adding nuts, fruit, or sauces like caramel and chocolate for different flavors.
- Vegan option: Use coconut cream and dairy-free condensed milk for a dairy-free version.

