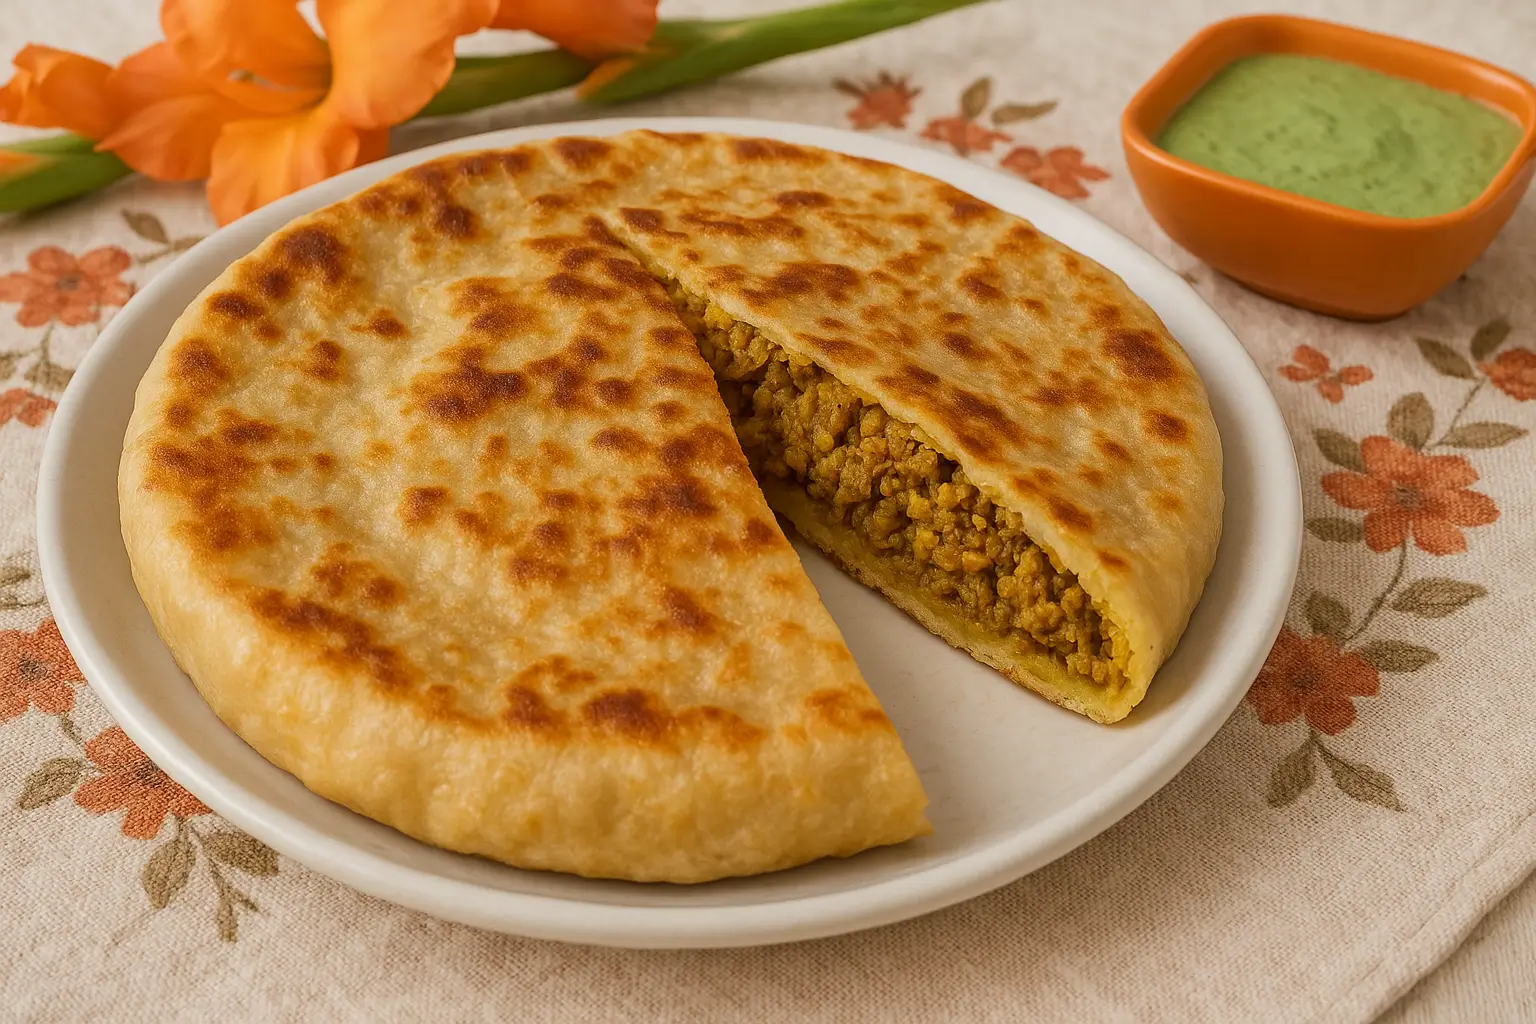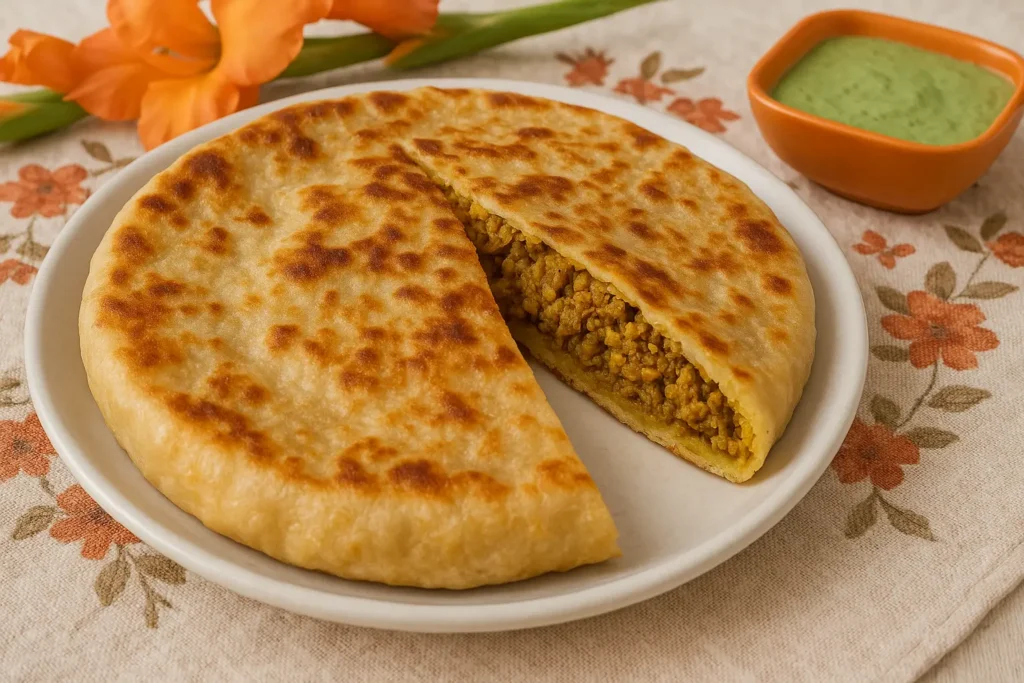
The Heartwarming Story Behind My Keema Paratha Love
The scent of freshly made parathas sizzling on a tawa takes me straight back to the slow, peaceful Sunday mornings of my childhood. At home, those special days always meant one thing — the comforting embrace of homemade keema paratha. I can still picture my mother gently kneading the soft dough while the spiced keema cooked slowly in her old iron kadai, releasing the rich aromas of garam masala, ginger, and ghee into every corner of our kitchen.
This wasn’t just a breakfast dish, it was a beautiful tradition wrapped in flavor and warmth. That same feeling of love and heritage is what I hope to share with you today through this keema paratha recipe. Whether you’re trying keema and paratha together for the first time or you’ve always been a fan of stuffed keema paratha, this recipe brings that cozy homemade magic to your plate.
Table of Contents
Ingredients You’ll Need for Keema Paratha
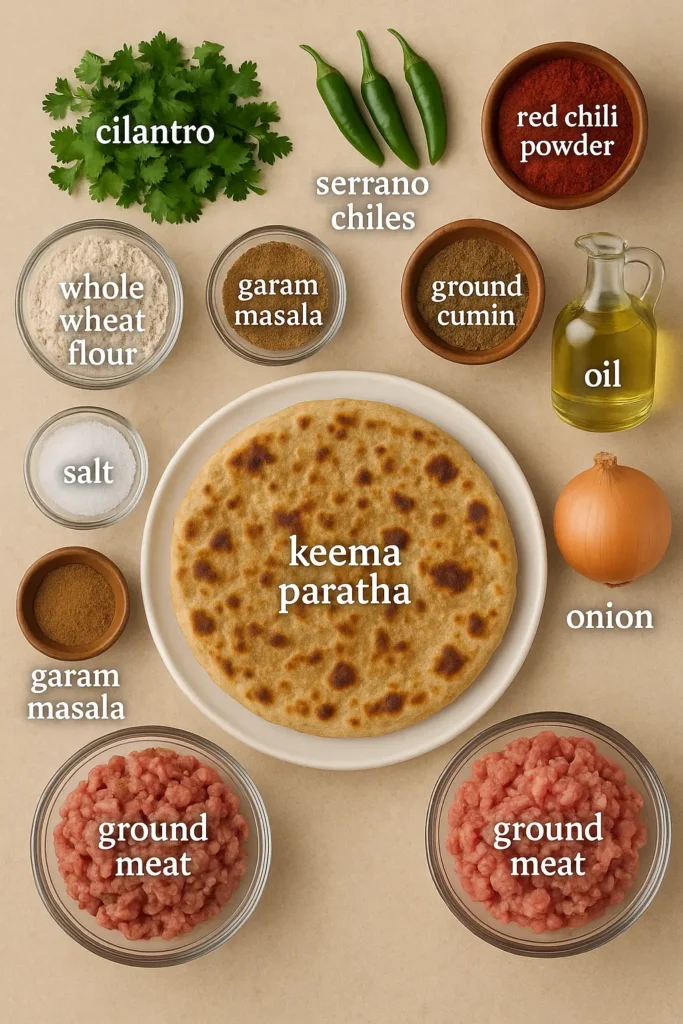
The secret to a truly flavorful keema paratha lies in using the right ingredients, in just the right proportions. This combination of soft whole wheat dough and a spicy, juicy keema filling creates a perfect bite every time. Whether you’re trying this for the first time or recreating a favorite from memory, these ingredients will help you achieve an authentic homemade taste.
For the Dough
To get that soft, flaky texture essential for a proper keema paratha recipe, gather the following:
- 2 cups whole wheat flour (atta) – This is the base of the dough, offering both structure and wholesomeness.
- ½ teaspoon salt – A small amount that makes a big difference in enhancing the dough’s flavor.
- 1 tablespoon oil or ghee – Helps create soft layers and prevents the dough from drying out.
- Water (as needed) – Use gradually to form a smooth, elastic dough that’s easy to roll.
A well-prepared dough gives your stuffed keema paratha the golden crispiness it needs on the outside with a soft, chewy bite on the inside.
For the Keema Filling
This is where the real flavor of your keema and paratha combination comes to life. The spices and aromatics come together with minced meat to create a filling that’s savory, juicy, and deeply satisfying.
- 250 grams minced meat (keema) – Lamb, goat, or chicken can be used depending on your taste preference.
- 1 medium onion, finely chopped – Adds sweetness and texture to the filling.
- 2 green chilies, finely chopped – Offers just the right amount of heat (adjust to taste).
- 1 tablespoon ginger-garlic paste – Adds a bold aroma and depth of flavor.
- ½ teaspoon turmeric powder – Brings earthy warmth and a beautiful golden color.
- 1 teaspoon red chili powder – Provides spicy warmth to balance the richness of the meat.
- 1 teaspoon coriander powder – Adds subtle citrusy notes that lift the flavor.
- ½ teaspoon garam masala – A classic finishing spice that completes the flavor profile.
- Salt to taste – Balances every ingredient and brings the filling together.
- 2 tablespoons chopped fresh coriander leaves – Gives freshness and color to the mix.
- 1 tablespoon cooking oil or ghee – Used to sauté everything together until the mixture is juicy and aromatic.
This hearty and flavorful filling is what makes this recipe for keema paratha so irresistible.
How to Make Keema Paratha (Step-by-Step Guide)
Creating authentic, delicious keema paratha at home is easier than you think. Just follow these clear steps and you’ll have golden, crispy parathas with a perfectly spiced filling in no time. Each step plays an important role in the success of this traditional keema paratha recipe.
Step 1: Prepare the Dough
In a large mixing bowl, combine whole wheat flour and salt. Add a spoon of oil or ghee, then slowly pour in water as you knead the mixture into a smooth and pliable dough. The texture should be soft but not sticky. Once ready, cover it with a damp cloth and let it rest for 20 to 30 minutes. This rest time is essential, as it allows the dough to relax and makes your stuffed keema paratha easier to roll and cook later.
Step 2: Cook the Keema Filling
Heat oil or ghee in a pan over medium heat. Add finely chopped onions and sauté them until they turn golden brown. Stir in green chilies and ginger-garlic paste, cooking briefly until fragrant. Now add the minced meat (keema) and use a spatula to break it apart evenly. Once the meat starts to change color, mix in the turmeric powder, red chili powder, coriander powder, and salt. Cook the mixture uncovered, stirring occasionally, until it becomes dry and richly aromatic. Finally, add garam masala and chopped fresh coriander. Turn off the heat and let the mixture cool completely. This ensures your keema and paratha stay intact during stuffing.
Step 3: Stuff the Parathas
Once the dough has rested and the keema has cooled, divide the dough into equal-sized balls. Roll each one into a flat 4-inch disc. Place a generous spoonful of the keema mixture in the center. Bring the edges together to seal the filling inside, pressing firmly so it doesn’t leak. Flatten the ball slightly and roll it again into a larger disc, around 6 to 7 inches in diameter. Be gentle during this step to avoid breaking the dough or spilling the keema. This technique is what makes this recipe for keema paratha truly authentic.
Step 4: Cook the Parathas
Heat a tawa or non-stick skillet on medium-high heat. Carefully place the stuffed paratha onto the hot surface. Cook for 1 to 2 minutes until you see bubbles forming. Flip it over and apply oil or ghee to both sides. Keep flipping and pressing gently until it turns golden brown with crispy edges. Repeat this process for all the remaining dough balls and keema filling. Serve hot for the best flavor and texture.
Expert Tips to Make Perfect Keema Paratha
Want your keema paratha to turn out just like the traditional ones — crispy on the outside, juicy inside, and packed with flavor? These expert tips will help you master the art of making stuffed keema paratha at home.
- Make sure the keema filling is completely dry
Moist keema makes the paratha soggy and prone to tearing. Cook the keema uncovered until all moisture evaporates. A dry filling is easier to handle and gives a crisp finish. - Always cool the filling before using
Using hot keema can soften the dough, making it difficult to roll and seal. Let the filling come to room temperature to keep the layers neat and the texture just right in your keema paratha recipe. - Seal the edges tightly before rolling
To prevent the keema from spilling out, pinch the dough edges firmly after stuffing. This helps lock in the filling and gives your keema and paratha combination a clean shape. - Roll gently with light pressure
Don’t press too hard or the filling may break through. Use a soft, even rolling motion to maintain shape and avoid tearing your stuffed keema paratha. - Cook on medium heat for a perfect balance
High heat will burn the outside while leaving the inside raw. Low heat turns the paratha greasy. Medium heat ensures even cooking, crispy edges, and a golden finish to your recipe for keema paratha.
Irresistible Variations of Keema Paratha
Trying different styles of this classic dish can make your meals more interesting. Here are five flavorful ideas to try at home:
1. Chicken Twist
Using minced chicken gives a lighter touch to the dish while still holding all the masala beautifully. It’s also quick to cook and great for lunchboxes.
2. Aloo Blend
Mixing in mashed potatoes creates a soft, creamy texture that adds a comforting bite. This version is especially good for those who enjoy mild spice.
3. Paneer Mix
Grated paneer makes a great alternative for vegetarians. It takes on flavor quickly and adds a rich texture that balances perfectly with spices.
4. Cheese-Stuffed Style
Adding cheese like mozzarella or cheddar creates a fusion version with a gooey center. It’s ideal for kids or anyone craving something indulgent.
5. Separate Serve Idea
Instead of stuffing, simply cook the meat mixture and serve it with plain parathas. It’s a time-saving variation with full flavor.
Serving Suggestions for Keema Paratha
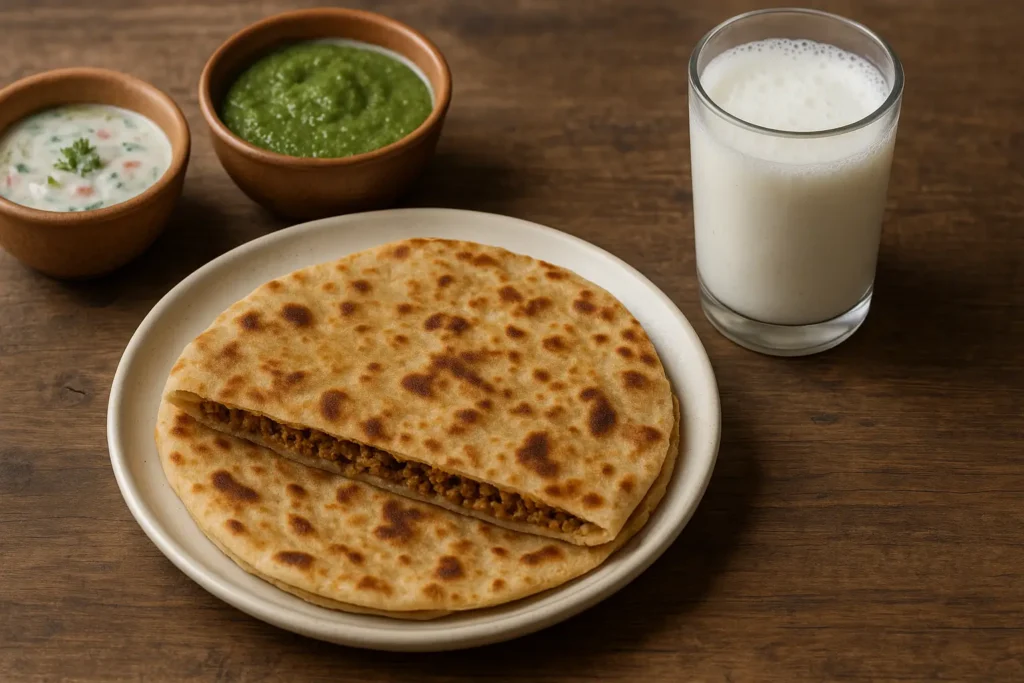
- Serve hot with curd or raita: A freshly made keema paratha tastes best when paired with a bowl of plain curd or creamy raita. The coolness of yogurt balances the spices in the filling, making it a refreshing and satisfying combination.
- Add pickles or chutney: To elevate the flavor, serve with a spoonful of tangy mango pickle or green chutney. These condiments add a burst of spice and acidity that complements the richness of the meat filling.
- Make it a full brunch: Turn your meal into a complete treat by adding a glass of chilled lassi or a warm cup of masala chai. This pairing adds a comforting and wholesome touch to your weekend brunch.
- Kid-friendly wrap version: For children, roll the paratha into a soft wrap and fill it with a little grated cheese and ketchup. This fun version is easy to eat and adds a mild flavor twist kids usually enjoy.
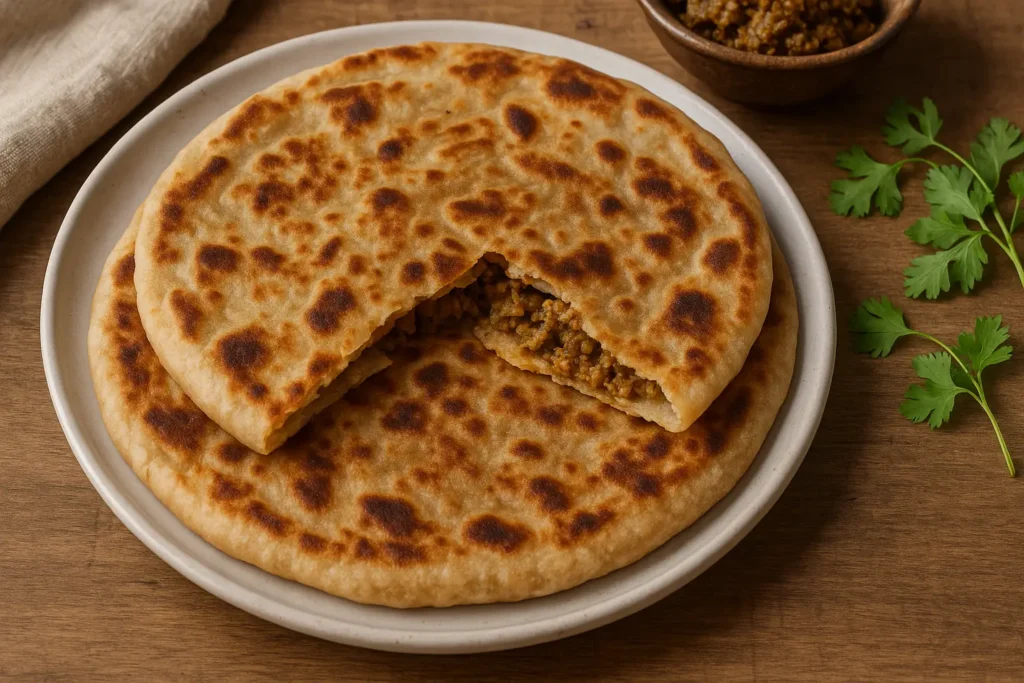
Bonus Tip: Meal-Prep Friendly Keema Paratha
If you want to enjoy your favorite stuffed flatbread on busy mornings, try making it meal-prep friendly. Start by cooking a larger quantity of the spiced meat filling and letting it cool completely. Once cooled, divide the mixture into smaller portions and store them in the refrigerator for a couple of days, or freeze them for long-term use. This helps save cooking time and makes weekday breakfasts or lunches quick and convenient.
You can also roll out the dough and lightly cook the parathas on both sides — just until the surface sets without browning. Let them cool, place parchment paper between each one, and freeze. When you’re ready to eat, take a frozen one out and toast it on a hot skillet until golden on both sides.
By doing this, you’ll always have a batch of ready-to-cook keema _paratha_ tucked in the freezer, perfect for those moments when time is short but you still crave something warm and satisfying.
Frequently Asked Questions (FAQs)
Q1: Can I use leftover keema for this recipe?
Yes, using leftover keema is a great shortcut. Just make sure it is completely dry and cooled before stuffing. Moist filling can make the dough soggy or cause it to tear while rolling, so drying it beforehand is key for perfect results.
Q2: What kind of keema works best for stuffing?
Lamb and goat keema provide the most traditional flavor with rich, savory notes. However, you can also use chicken or turkey keema for a lighter version. Each type brings its own texture and taste, so feel free to choose based on your preference or dietary needs.
Q3: Is this recipe freezer-friendly?
Absolutely. You can half-cook the parathas and let them cool. Once cooled, stack them with parchment paper in between and freeze. When you’re ready to eat, cook straight from frozen on a hot pan. They’ll turn out just as crispy and fresh.
Q4: Can I make it without onion and garlic?
Yes, this recipe is easily adaptable. Simply skip the onion and garlic and enhance the flavor with more herbs like coriander and a touch of garam masala. It’s a perfect option for those following a sattvic or festive diet.
Q5: How do I prevent the filling from leaking out?
First, ensure that the keema is dry and well-cooked. Second, use slightly thicker dough while rolling. Lastly, roll the stuffed disc gently and evenly without applying too much pressure. These steps will keep the filling sealed and the shape intact.
By keeping these pointers in mind, you’ll master the art of making perfect paratha _keema_ every time — whether fresh or frozen, stuffed or rolled.
Final Thoughts
Preparing keema paratha from scratch is a rewarding experience that brings together comfort, flavor, and the joy of homemade food. It is not just a meal, but a memory in the making. From kneading the dough to filling it with fragrant, seasoned keema, every step connects you to tradition while satisfying modern-day cravings. Whether you are serving it for a hearty breakfast or packing it for lunch, this dish delivers both taste and nostalgia. Once you try it, it might just become a weekend favorite in your home too.
If you are someone who enjoys cooking meals that are both soulful and simple, you may also enjoy trying my [Olympics Chocolate Muffins Recipe]. It is a delightful contrast to this savory flatbread and adds a sweet ending to your homemade menu.
If you liked this recipe, I would love to hear from you. Please leave a comment below and tell me how your keema paratha turned out. Your feedback truly means a lot. And don’t forget to share this recipe with your family and friends so they can enjoy it too. After all, sharing good food is one of the best joys in life.

